Snowflake uses the OAuth, which requires the authenticating user to interact with Snowflake via the browser. The way we create a custom OAuth app, is by creating an integration object in Snowflake, which is based on the following Snowflake documentation: OAuth Custom
The first step is to make sure that we are using account administrators (users with the ACCOUNTADMIN role) or a role with the global CREATE INTEGRATION privilege to be able to execute the following SQL command:
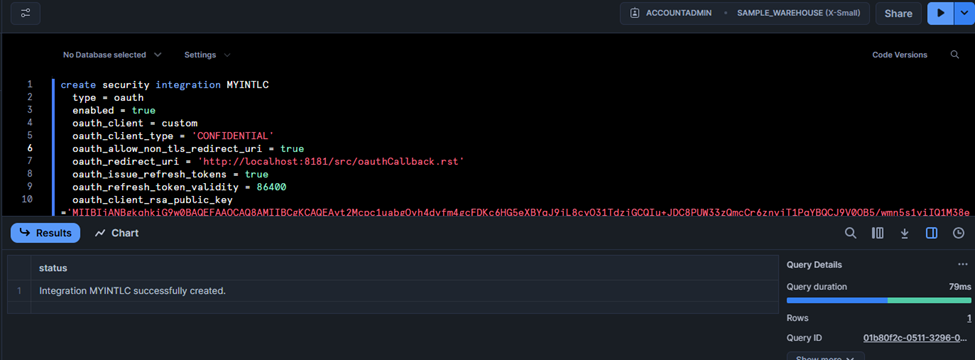
create security integration MYINT
type = oauth
enabled = true
oauth_client = custom
oauth_client_type = 'CONFIDENTIAL'
oauth_redirect_uri = 'http://localhost.com'
oauth_issue_refresh_tokens = true
oauth_refresh_token_validity = 86400
oauth_client_rsa_public_key ='<your public key>'
oauth_allow_non_tls_redirect_uri = true;
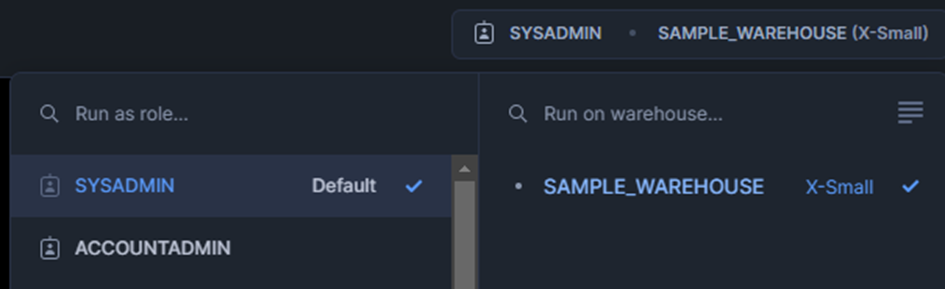
Another thing to take into consideration is that the Snowflake authorization request requires a scope query parameter, which in our driver, if the Scope connection property is left empty, it is set as session:role:<RoleName> where <RoleName> is the default role on Snowflake’s UI (usually SYSADMIN):
Based on the Snowflake documentation, the following line is also mentioned:
blocked_roles_list = ('SYSADMIN')
This line of code is utilized to block the abovementioned role from accessing the API. Based on the Snowflake documentation, please note that by default, the ACCOUNTADMIN, SECURITYADMIN, and ORGADMIN roles are also included in the BLOCKED_ROLES_LIST and cannot be removed. If you have a business need to allow users to use Snowflake OAuth with these roles, and your security team allows it, please contact Snowflake Support to request that these roles be allowed for your account.
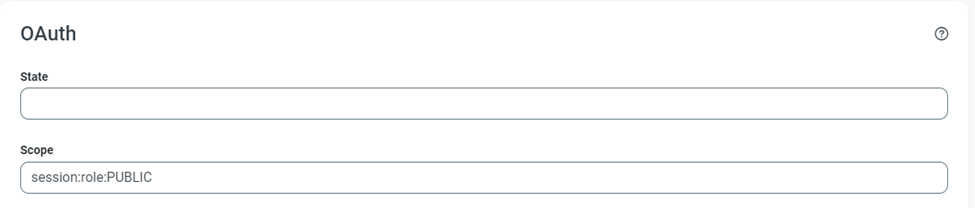
Therefore, we can either omit this part of the code to include the SYSADMIN role, or if we decide to use any other Roles, we need to make sure to include them in the Advanced section of the configuration settings under the Scope connection property:
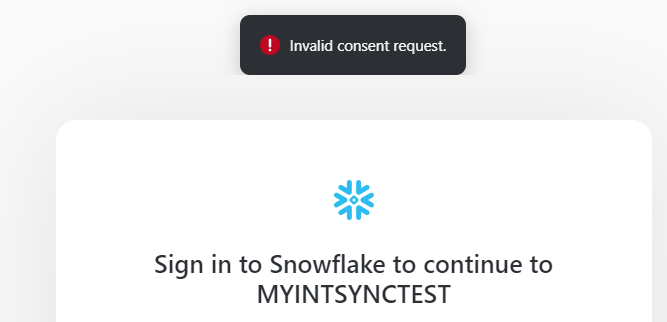
Otherwise, you will stumble upon the following error:
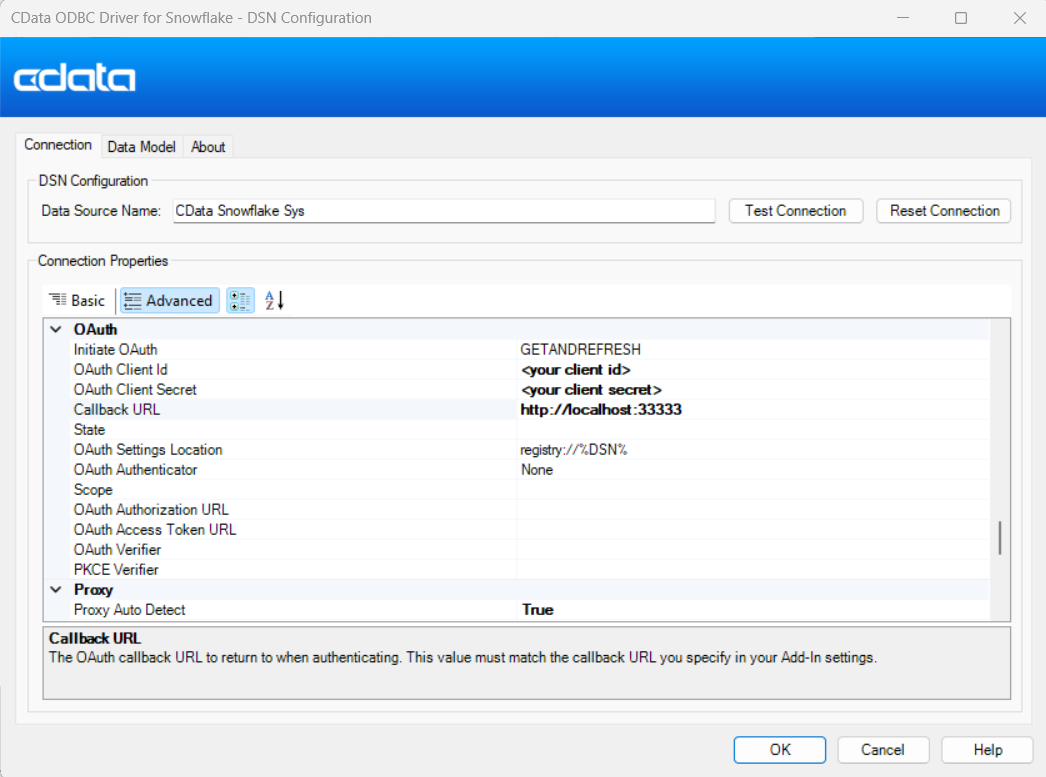
Another thing to keep in mind in the abovementioned command is the oauth_redirect_uri which depends on if you are connecting with our driver or Sync. Either way, the redirect URI must match in both driver/Sync and the integration object. If you are using our driver, you can utilize: http://localhost:33333 which will also be used in the CallbackURL connection property:
If you are using Sync, we need to uncheck the Use CData CallbackURL button and set the oauth_redirect_uri = 'http://localhost:8181/src/oauthCallback.rst' to match the CallbackURL in Sync:

Now we make use of the following line of code:
oauth_allow_non_tls_redirect_uri = true
If we try to create an integration object in Snowflake using the following information without including the abovementioned code snippet, we are going to get the following error:

The error gets thrown because we are using HTTP instead of HTTPS. This means that we need to allow non-TLS redirect URIs:
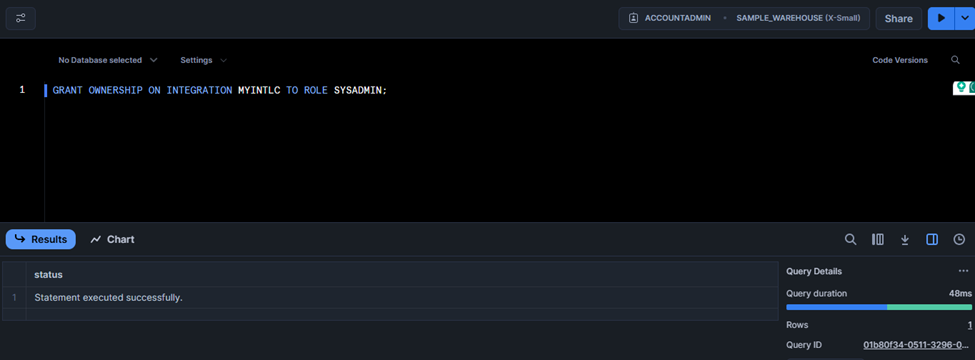
Now we have created an integration object on our ACCOUNTADMIN role. Depending on the role we choose, we need to grant ownership for the integration created for the role we intend to use. Let’s say that we are going to use the SYSADMIN role. To grant ownership for the integration created to the SYSADMIN role, use the following command:
GRANT OWNERSHIP ON INTEGRATION MYINTLC TO ROLE SYSADMIN;
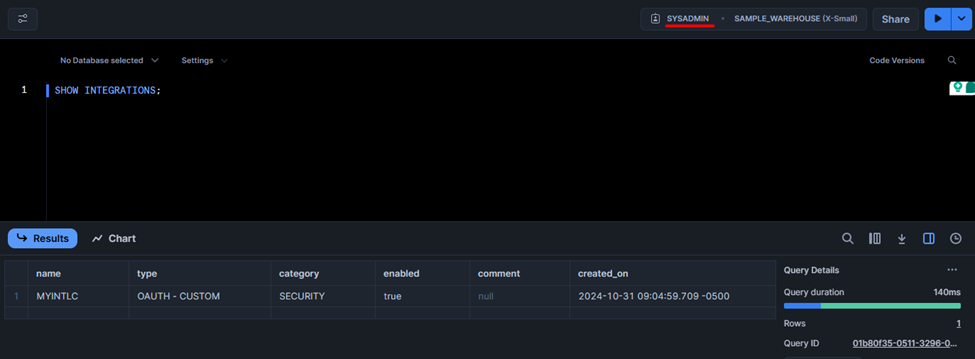
Now we can see that the SYSADMIN has the Integration listed:
All is set, now we need to get the Client_ID and the Client_Secret from the integration created. To do so, we will use the following command:
select system$show_oauth_client_secrets('MYINTLC');
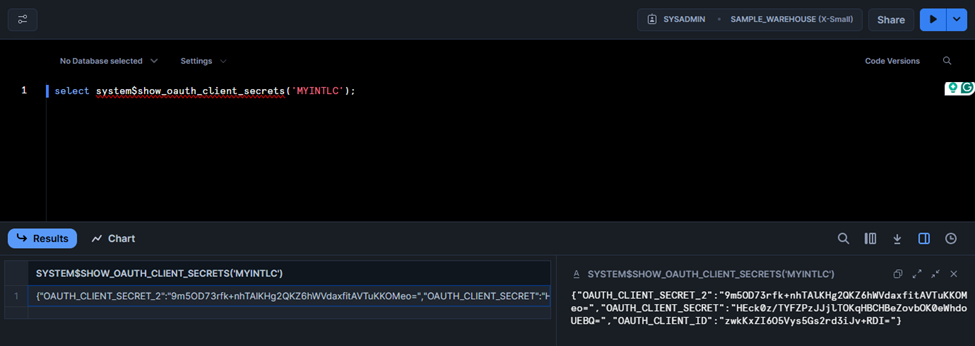
Now that we got the Client_ID and Client_Secret, let’s create the connection in Sync:
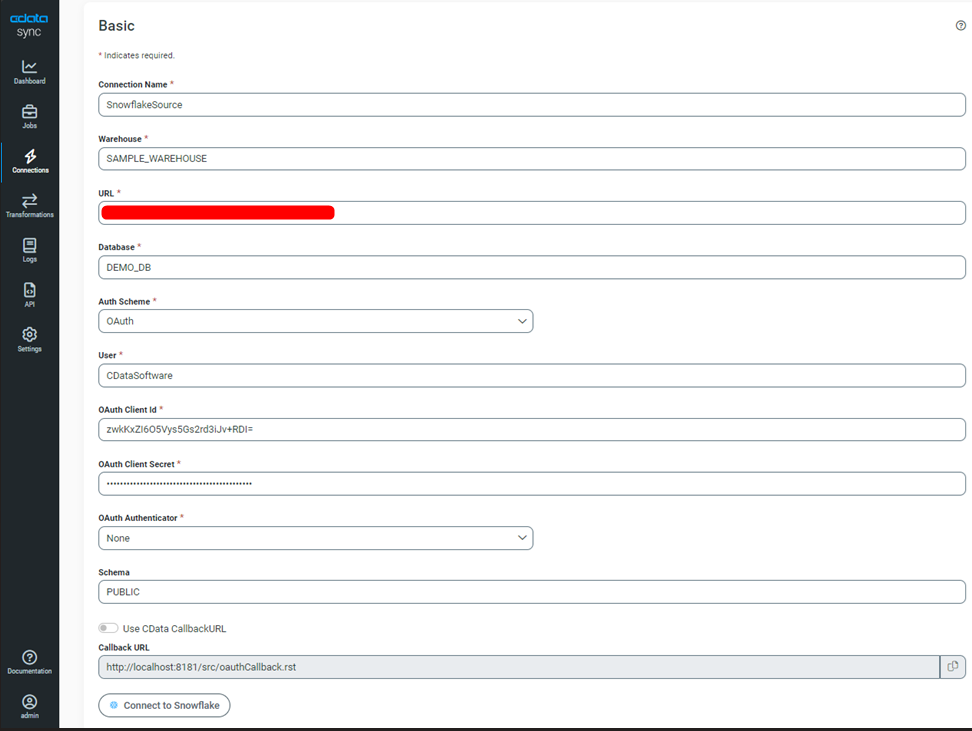
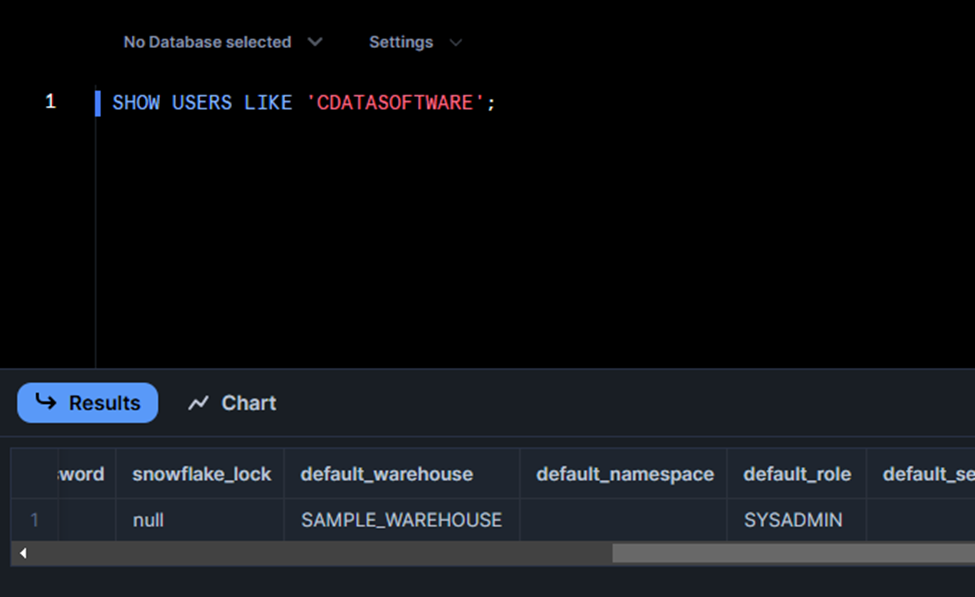
Under User, I have set the user, the default role of which relates to the role I want to use, in this case, SYSADMIN:
This process will redirect you to the browser for the first time where you will need to log in, and after that, the process will become automatic and you will not need to log in from the browser anymore.
After signing in, you will need to allow your integration to access your Snowflake Account.
If you have trouble understanding how the OAuth_Client_RSA_Public_Key works kindly refer to the following part of the Snowflake documentation: https://docs.snowflake.com/en/user-guide/oauth-custom#using-key-pair-authentication
Please reach out to [email protected] if this does not resolve the problem for you.