Use CData Connect Cloud to gain access to live MongoDB data and create custom reports in Looker Studio.
Looker Studio (formerly Google Data Studio) allows you to create branded reports with data visualizations to share with your clients. When paired with CData Connect Cloud, you get instant, cloud-to-cloud access to MongoDB data for visualizations, dashboards, and more. This article shows how to create a virtual database for MongoDB and build reports from MongoDB data in Looker Studio.
CData Connect Cloud provides a pure cloud-to-cloud interface for MongoDB, allowing you to easily build reports from live MongoDB data in Looker Studio — without replicating the data. As you build visualizations, Looker Studio generates queries to gather data. Using optimized data processing out of the box, CData Connect Cloud pushes all supported query operations (filters, JOINs, etc) directly to MongoDB, leveraging server-side processing to quickly return MongoDB data.
This article requires a CData Connect Cloud instance and the CData Connect Cloud Connector for Looker Studio. Get more information on the CData Connect Cloud and sign up for a free trial at https://www.cdata.com/cloud.
Connect to MongoDB in Connect Cloud
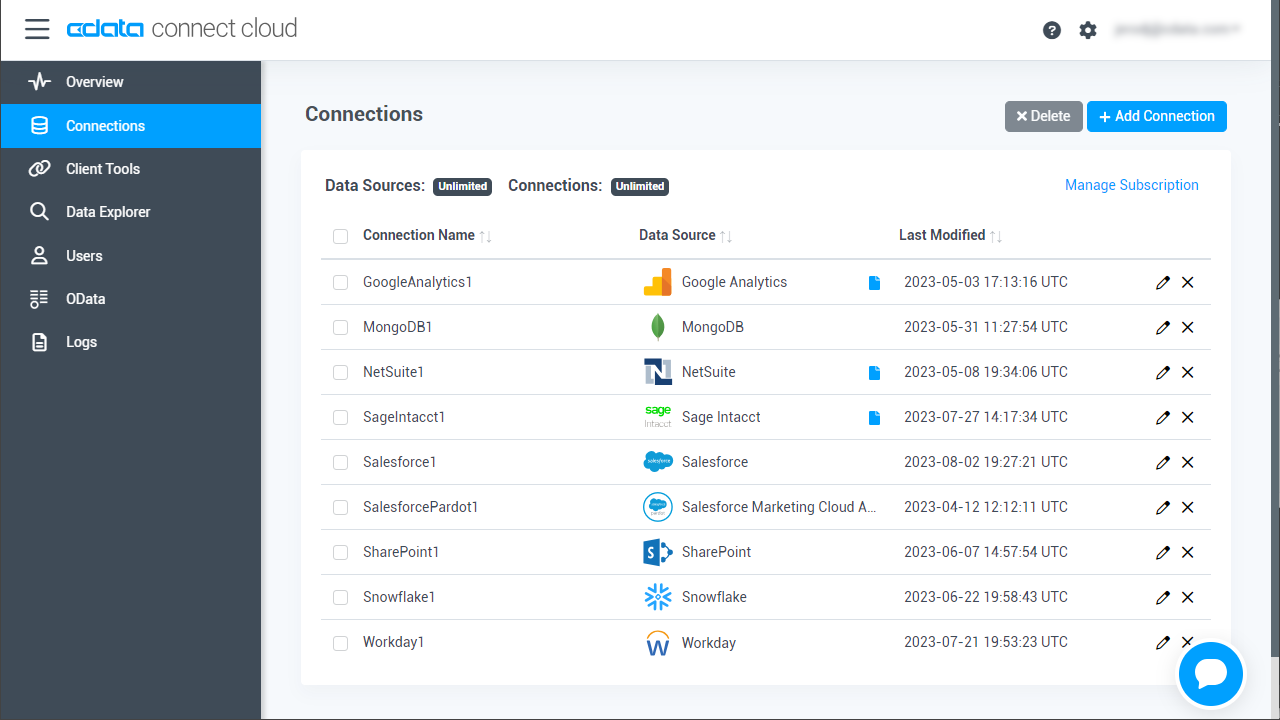
CData Connect Cloud uses a straightforward, point-and-click interface to connect to data sources.
- Log into Connect Cloud, click Connections and click Add Connection
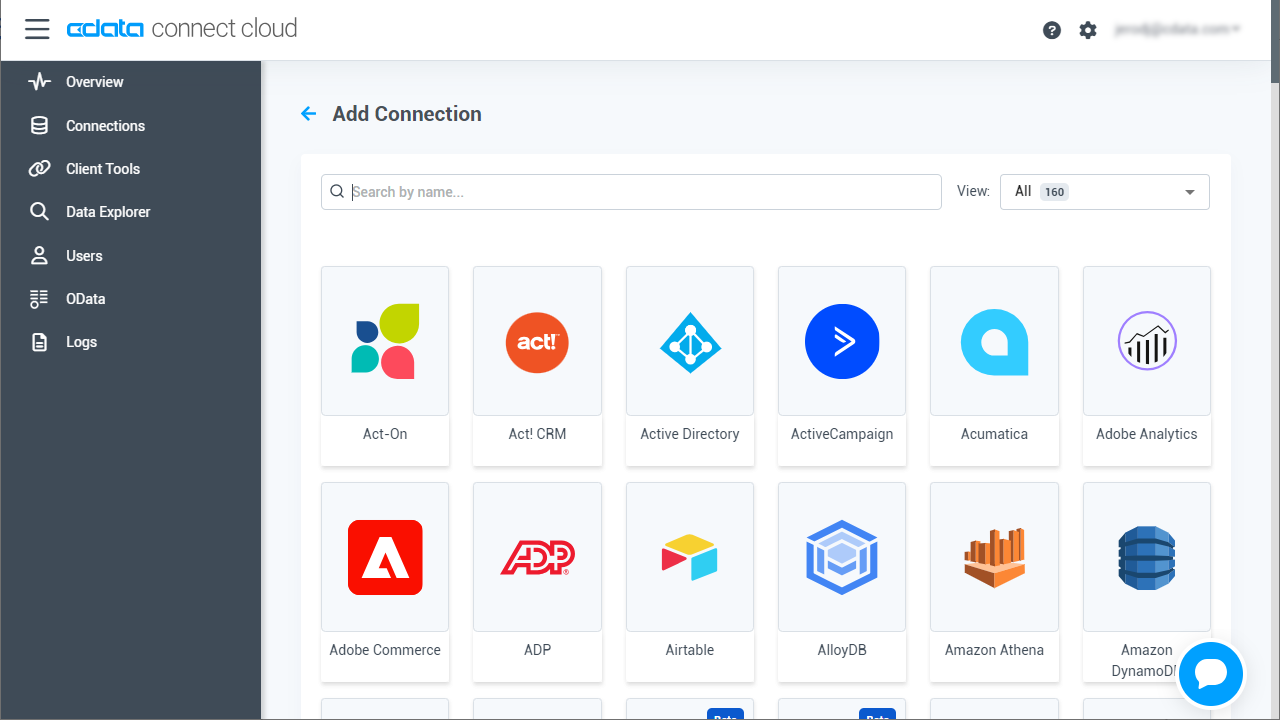
- Select "MongoDB" from the Add Connection panel
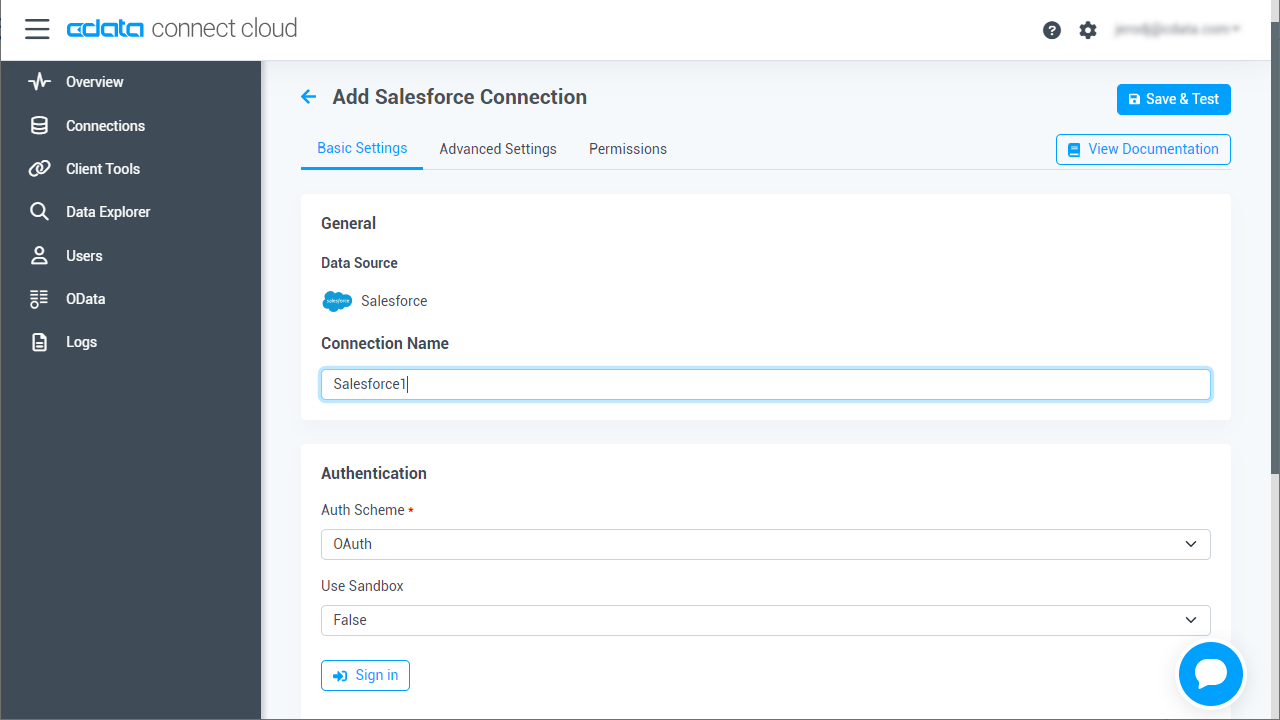
- Enter the necessary authentication properties to connect to MongoDB.
Set the Server, Database, User, and Password connection properties to connect to MongoDB. To access MongoDB collections as tables you can use automatic schema discovery or write your own schema definitions. Schemas are defined in .rsd files, which have a simple format. You can also execute free-form queries that are not tied to the schema.
- Click Create & Test
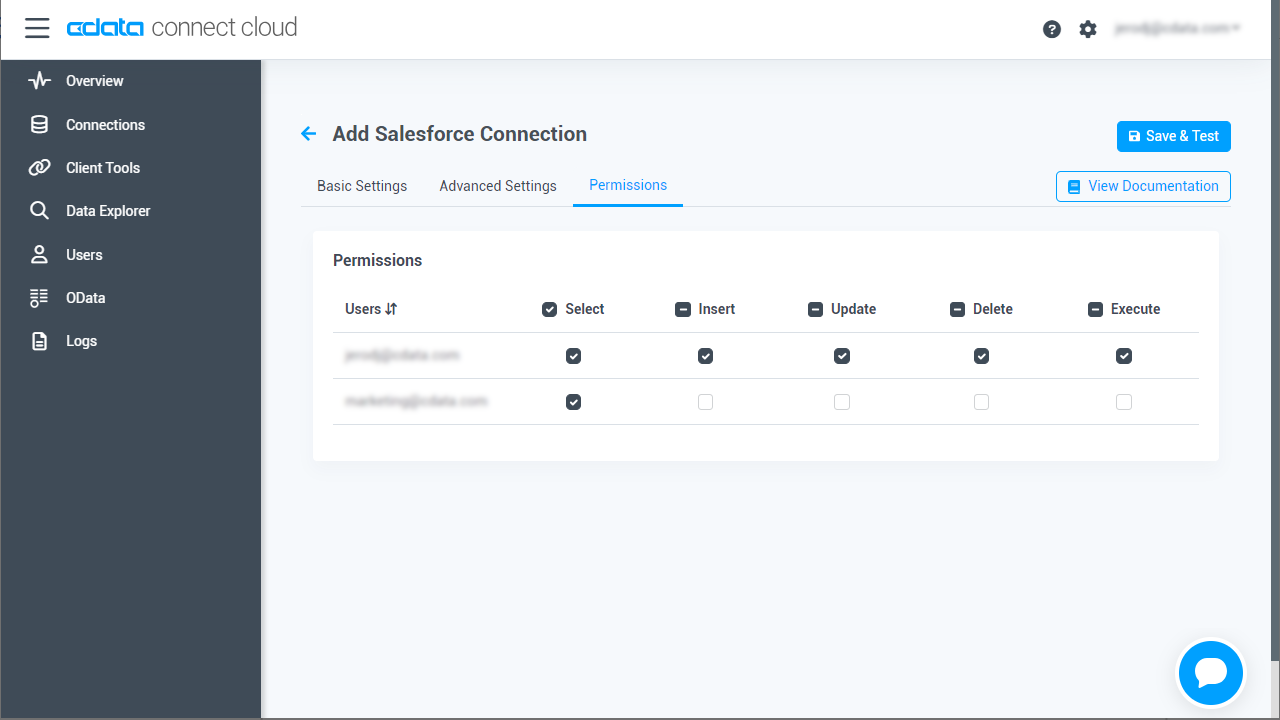
- Navigate to the Permissions tab in the Add MongoDB Connection page and update the User-based permissions.
With the connection configured, you are ready to connect to MongoDB data from Looker Studio.
Visualize Live MongoDB Data in Looker Studio
The steps below outline connecting to CData Connect Cloud from Looker Studio to create a new MongoDB data source and build a simple visualization from the data.
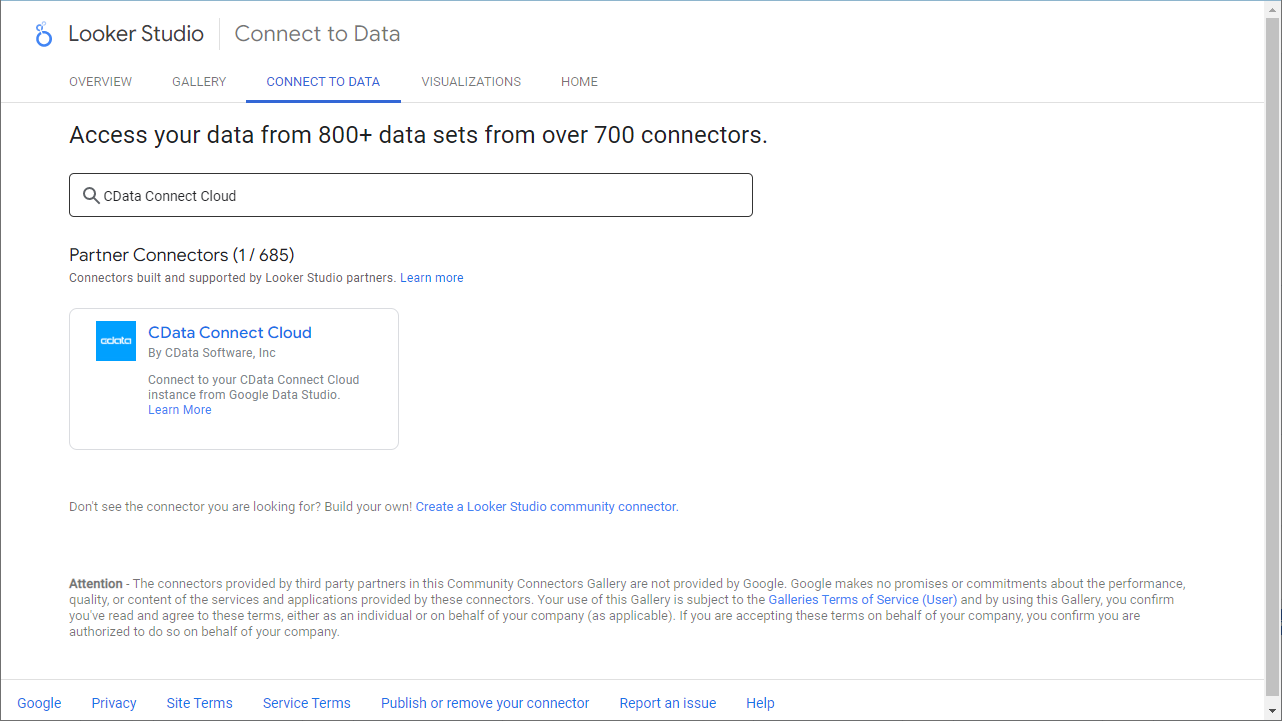
- Log into Looker Studio, click data sources, create a new data source, and choose CData Connect Cloud Connector.
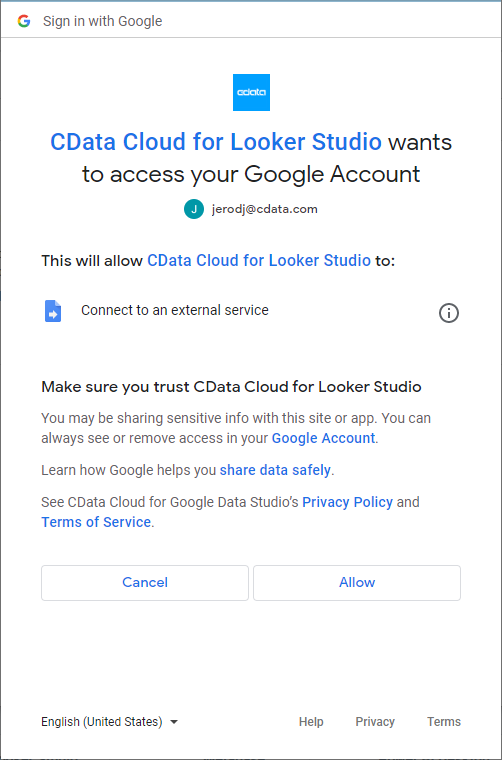
- Click Authorize and allow access to your Google account.
- Click Authorize to authenticate with your CData Connect Cloud instance

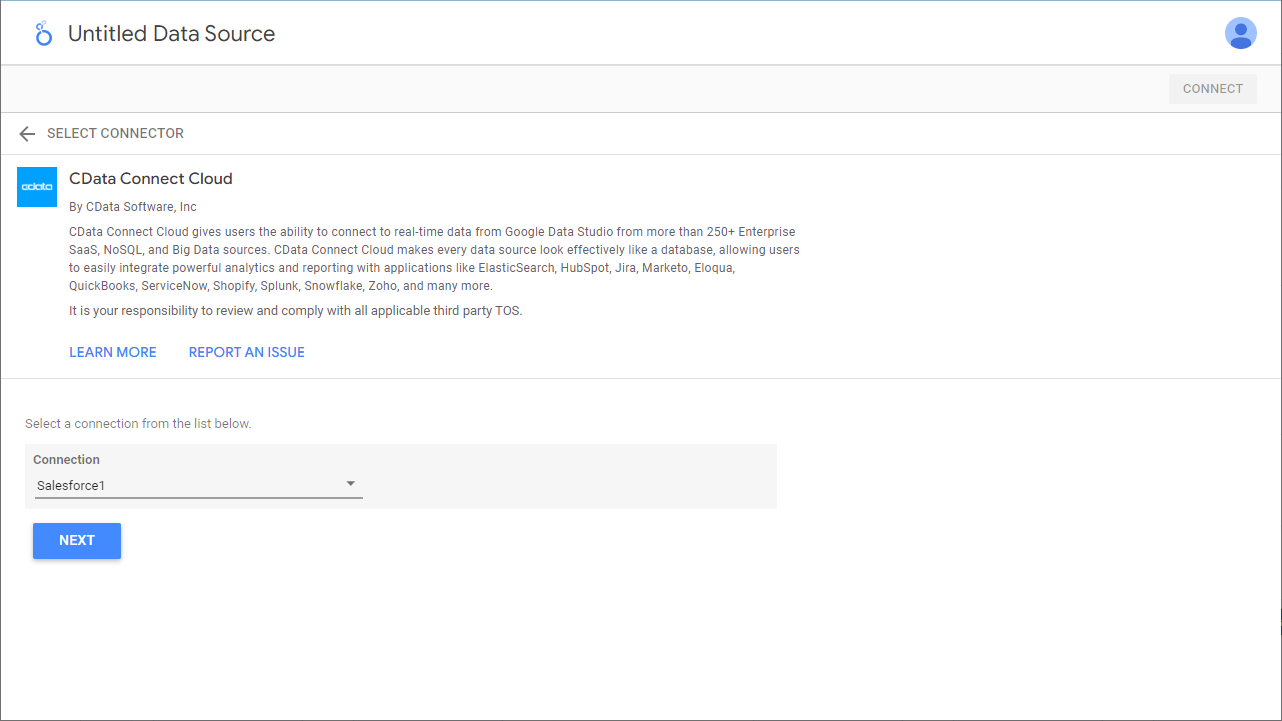
- In the CData Connect Cloud Connector in Looker Studio select a Connection (e.g. MongoDB1) and click Next
- Select a Table (e.g. restaurants) or use a Custom Query and click Connect to continue

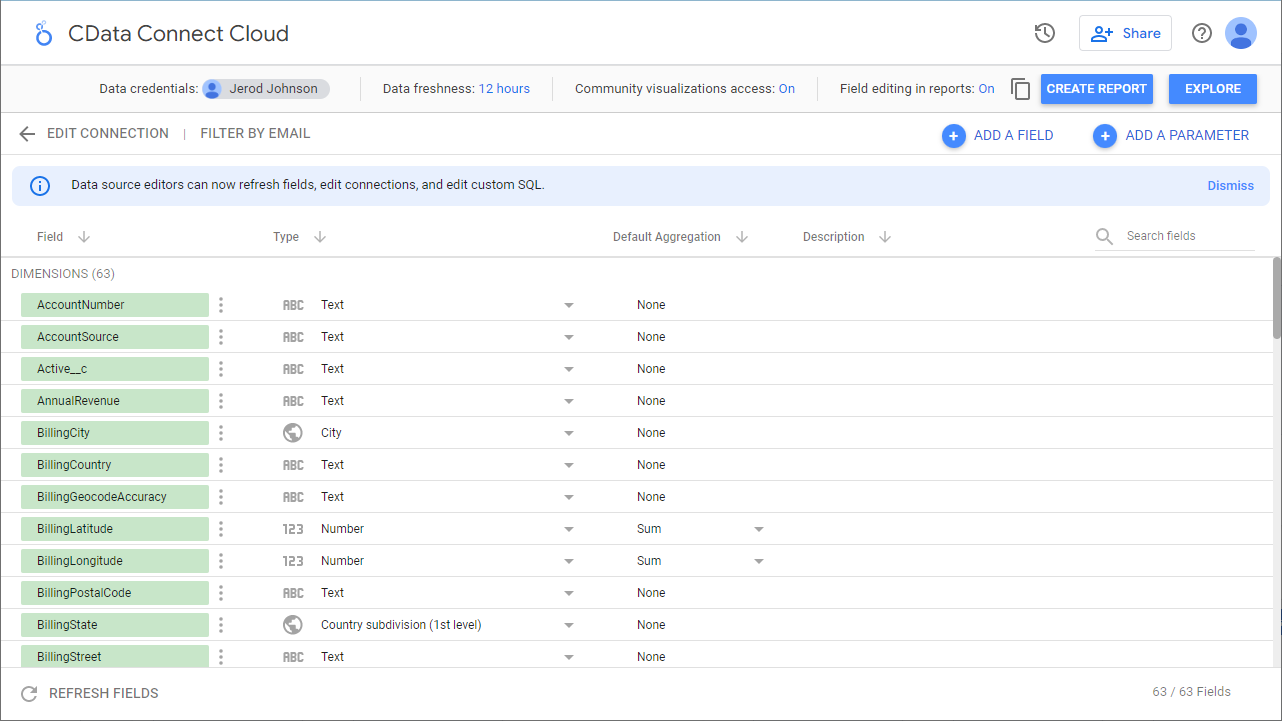
- If needed, modify columns, click Create Report, and add the data source to the report.
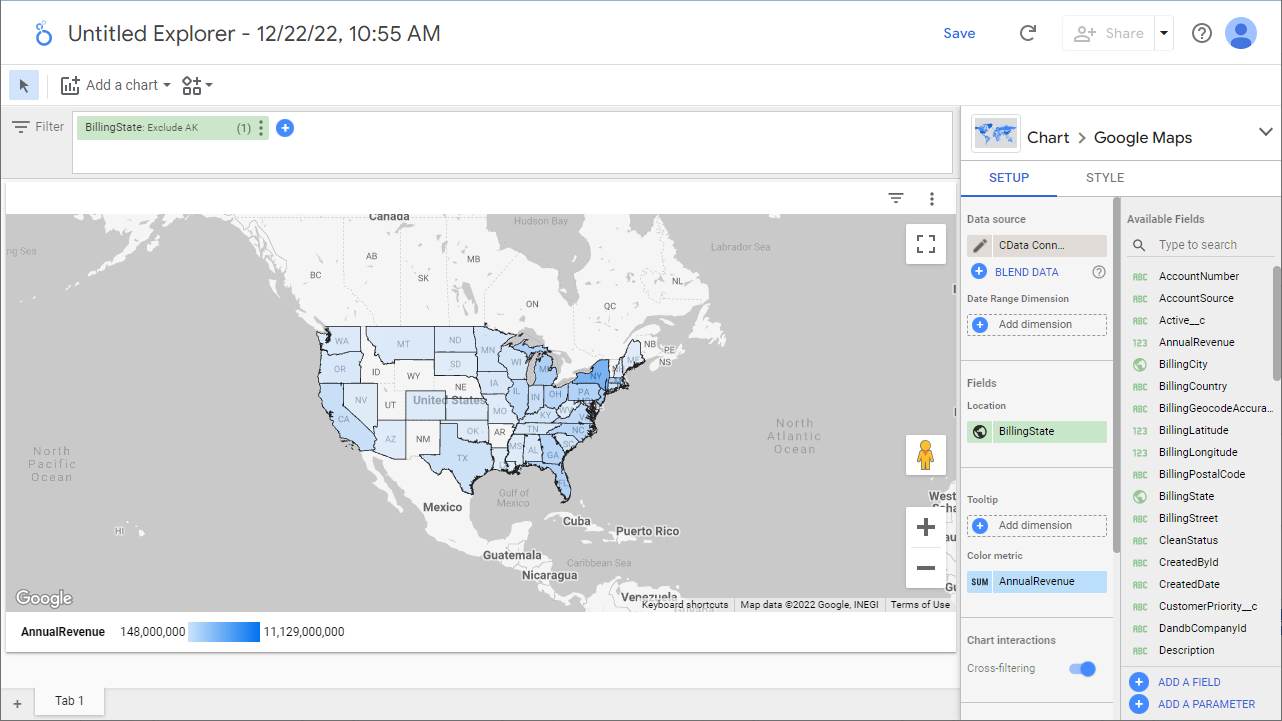
- Select a visualization style and add it to the report.
- Select Dimensions and Measures to customize your visualization.
Live Access to MongoDB Data from Cloud Applications
Now you have a direct, cloud-to-cloud connection to live MongoDB data from your Looker Studio workbook. You can create more data sources and new visualizations, build reports, and more — all without replicating MongoDB data.
Try CData Connect Cloud and get real-time data access to 100+ SaaS, Big Data, and NoSQL sources directly from your cloud applications.