Amazon Athena is a serverless querying service, offered as one of the many services available through the Amazon Web Services console. Using this service can serve a variety of purposes, but the primary use of Athena is to query data directly from Amazon S3 (Simple Storage Service), without the need for a database engine. Data on S3 is typically stored as flat files, in various formats, like CSV, JSON, XML, Parquet, and many more.
Apache Parquet is a method of storing data in a column-oriented fashion, which is especially beneficial to running queries over data warehouses. Columnar tables, allows for like-data to be stored on disk, by column. This makes analytical queries, like aggregations, less expensive. Parquet originates from the Apache project and is a free, open-source, component to the Hadoop ecosystem. Parquet is typically specified on a table, during creation, however the files which are created as apart of the HDFS can be transferred or integrated, into other systems for further data processing.
The purpose of this article is to show how parquet files can be queried from Data Virtuality, if they are being stored on Amazon S3.
Typically, one would need to perform a series of extracts to load parquet data into a central RDBMS. However, with the Data Virtuality virtual engine, if the parquet files are stored on S3 this data can be abstracted into the virtual layer and integrated with any other data source, using the Amazon Athena JDBC driver.
What You Will Need
- Data Virtuality Platform or Pipes Professional.
- AWS Account with S3 and Athena Services enabled.
- An IAM role with permissions to query from Athena.
- Amazon Athena JDBC Driver.
- Download available here.
Steps to Reproduce
Configure AWS Athena
- First, you will need to make sure that you have some parquet data on S3 and that it can be queried by the IAM user.
- Take note of which bucket this data is stored in as this information will be needed later.
- If you do not have access to parquet data, but would still like to test this feature for yourself, see this article on creating and saving local parquet files to S3 using Data Virtuality.
- Next, create an Athena table which will store the table definition for querying from the bucket.
- Make sure that the LOCATION parameter is the S3 bucket which is storing the parquet files to be queried.
- See this example CREATE TABLE statement on the “default” database below for reference, which is querying all parquet files in the S3 bucket, “s3://parquettest/parquet-uploads/” which contains the columns “id”, “my_message”, and “created_at”.
CREATE EXTERNAL TABLE IF NOT EXISTS default.message_test ( `id` string, `my_message` string, `created_at` binary)ROW FORMAT SERDE 'org.apache.hadoop.hive.ql.io.parquet.serde.ParquetHiveSerDe'WITH SERDEPROPERTIES ( 'serialization.format' = '1') LOCATION 's3://parquettest/parquet-uploads/'TBLPROPERTIES ('has_encrypted_data'='false');Configure Data Virtuality to use the Amazon Athena JDBC Driver
- After downloading the JDBC driver, it will need to be configured and recognized by the Data Virtuality server.
- Stop the server
- Create a folder simba/athena/main in modules/com directory and copy the AthenaJDBC41_2.0.7.jar to this folder.
- Create a file module.xml with the following content in this directory.
<?xml version="1.0" encoding="UTF-8"?><module xmlns="urn:jboss:module:1.0" name="com.simba.athena"> <resources> <resource-root path="AthenaJDBC41_2.0.6.jar"/> </resources> <dependencies> <module name="javax.api"/> <module name="javax.transaction.api"/> </dependencies></module>
-
- Add the following line in /modules/datavirtuality/dv/main/module.xml
<module name="com.simba.athena"/>
-
- And add this snippet to the <drivers> section of /dvserver/standalone/configuration/dvserver-standalone.xml
<driver name="awsathena" module="com.simba.athena"> <driver-class>com.simba.athena.jdbc.Driver</driver-class></driver>
-
- Restart the server.
- Next, add the Athena driver as a new data source using the generic JDBC connector in Data Virtuality.
- Start by finding “Add New Data Source”.
- Click the Generic JDBC data source to add.
- Configure the connection as follows:
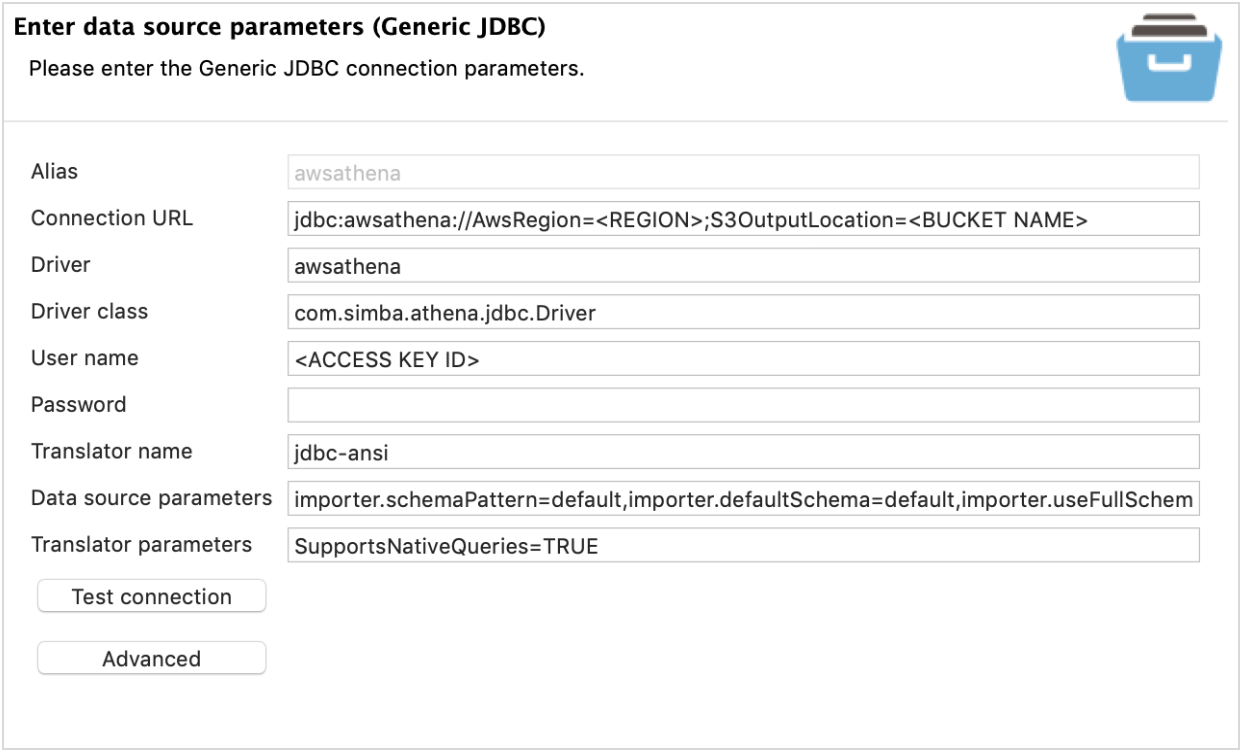
-
- Replace the following with your account specific details:
- <REGION>
- <BUCKET NAME>
- ex) “s3://parquettest/athena-queryoutput/”
- <ACCESS KEY ID>
- Password: Secret Key Id
- For additional information on driver properties and configuration, see here.
- AWS Athena support is not available in all regions. To see if this service is available in your region, see here.
- Replace the following with your account specific details:
- Alternatively, you can add the data source using the following script. Then, simply add the password afterwords, by editing the data source.
/* Create connection */call SYSADMIN.importConnection(name => 'awsathena', jbossCliTemplateName => 'jdbc', connectionOrResourceAdapterProperties => 'connection-url="jdbc:awsathena://AwsRegion=;S3OutputLocation=",driver=awsathena,driver-class=com.simba.athena.jdbc.Driver,user-name=', encryptedProperties => '');;/* Create data source */call SYSADMIN.importDatasource(name => 'awsathena', translator => 'jdbc-ansi', modelProperties => 'importer.schemaPattern=default,importer.defaultSchema=default,importer.useFullSchemaName=TRUE', translatorProperties => 'SupportsNativeQueries=TRUE', encryptedModelProperties => '', encryptedTranslatorProperties => '');;
- Please note that additional parameters may be configured in the “Data Source Parameter” and “Translator Parameter” fields to customize your data source, as these are Data Virtuality preferences and not Athena.
- For example, using “default” for importer.schemaPattern will only bring Athena tables in the “default” database.
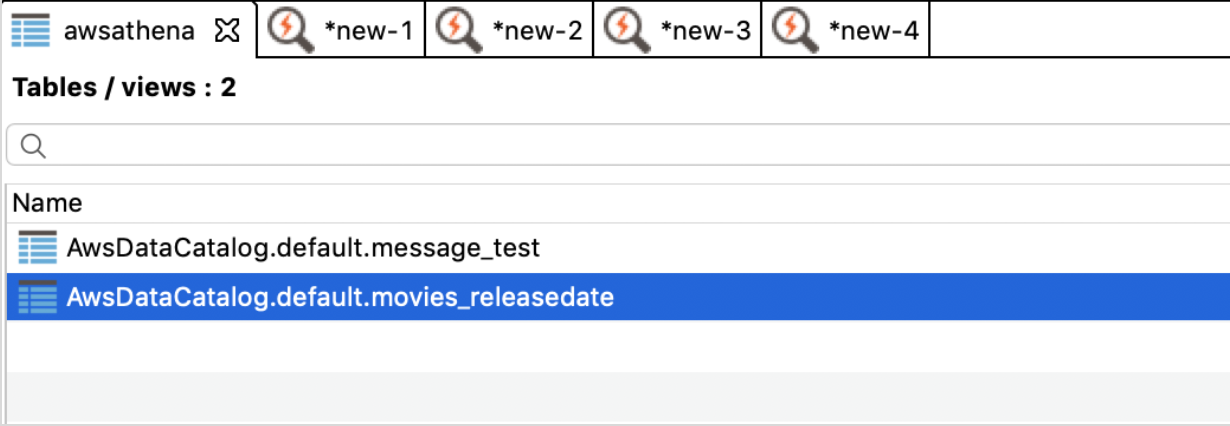
- After clicking “Finish”, Data Virtuality will add the Athena tables and meta data to the data source and you will be able to query these tables just as you would with any other Data Virtuality data source.