In this article, I will outline how to edit a newly generated schema file using our Connectors. This article will use our QuickBooks Online Power BI Connector as an example; however, this walkthrough is applicable to any data source and edition.
With several of our Connectors, we have the option to generate a new schema file. Depending on the edition, you can create these schemas by either running a Stored Procedure or using a graphical interface in the ODBC Administrator tool (applicable for ODBC and Power BI editions). Stored Procedures accept a list of parameters allowing us to define the structure of the schema file.
When we create a new schema file, this creates an .RSD file structuring the data based on our input parameters. This RSD file is saved in the path specified by the Location connection property. You can check the default value of this property by navigating to the documentation of your Connector and on the menu on the left-hand side, navigating to Connection Properties > Schema > Location.
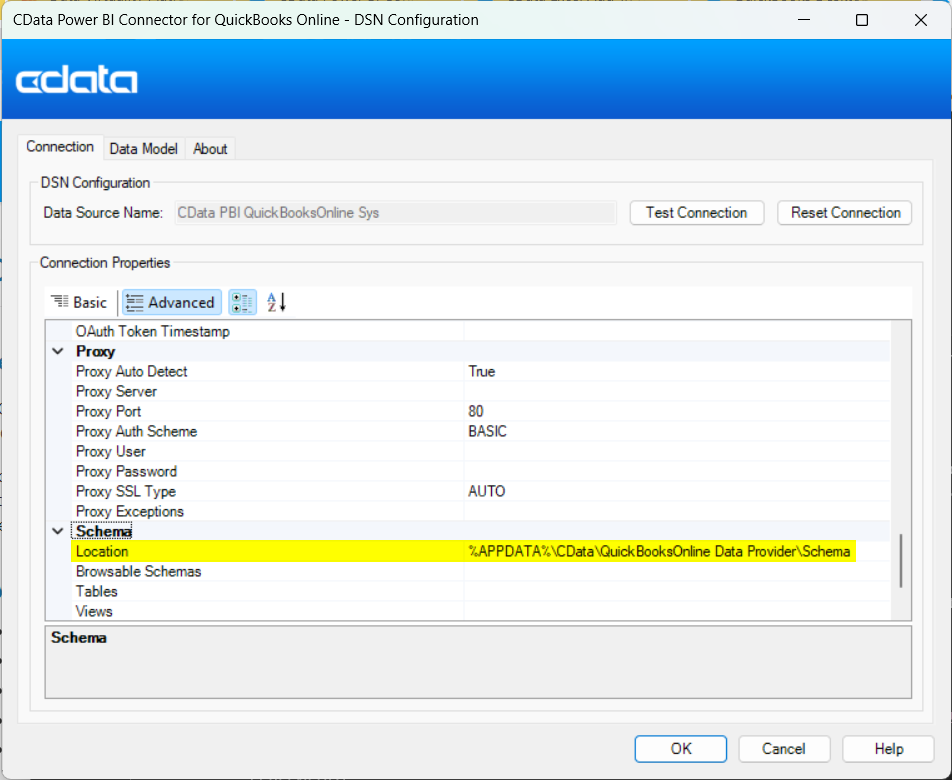
Since I am creating a schema file using the QBO Power BI Connector, I can check for the default value set for the Location connection property in the documentation, like so https://cdn.cdata.com/help/RNJ/powerbi/RSBQuickBooks_p_Location.htm. To confirm the value set for my instance, I can navigate to the ODBC Data Source Administrator, as seen below. Feel free to change the value of the Location property if you want your schema files saved elsewhere.

Now that we have the location available to us, we can go ahead and navigate to that folder holding our schema files within our File Explorer. Since my Location property is set to the default value, I have searched for the path within my File Explorer, as seen below.

After clicking enter, I am now taken to the relevant Schema folder, where I can see my generated schema files for the Connector.

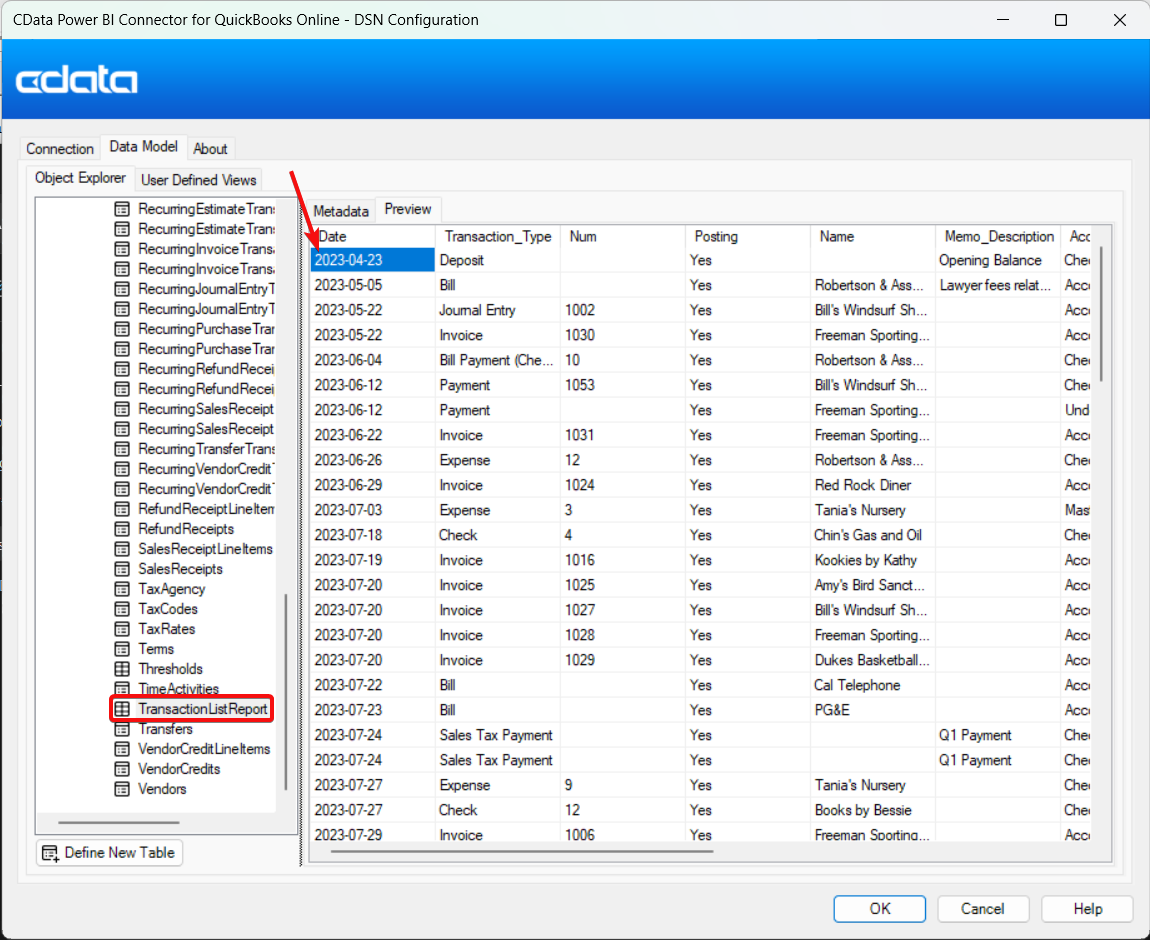
Now to edit the schema file. The best way to edit a newly generated schema is directly in the schema (RSD) file itself. I recently created a Transaction List Report using a Stored Procedure (TransactionListReport.rsd) and set the StartDate parameter as 04/01/2023, as seen below.

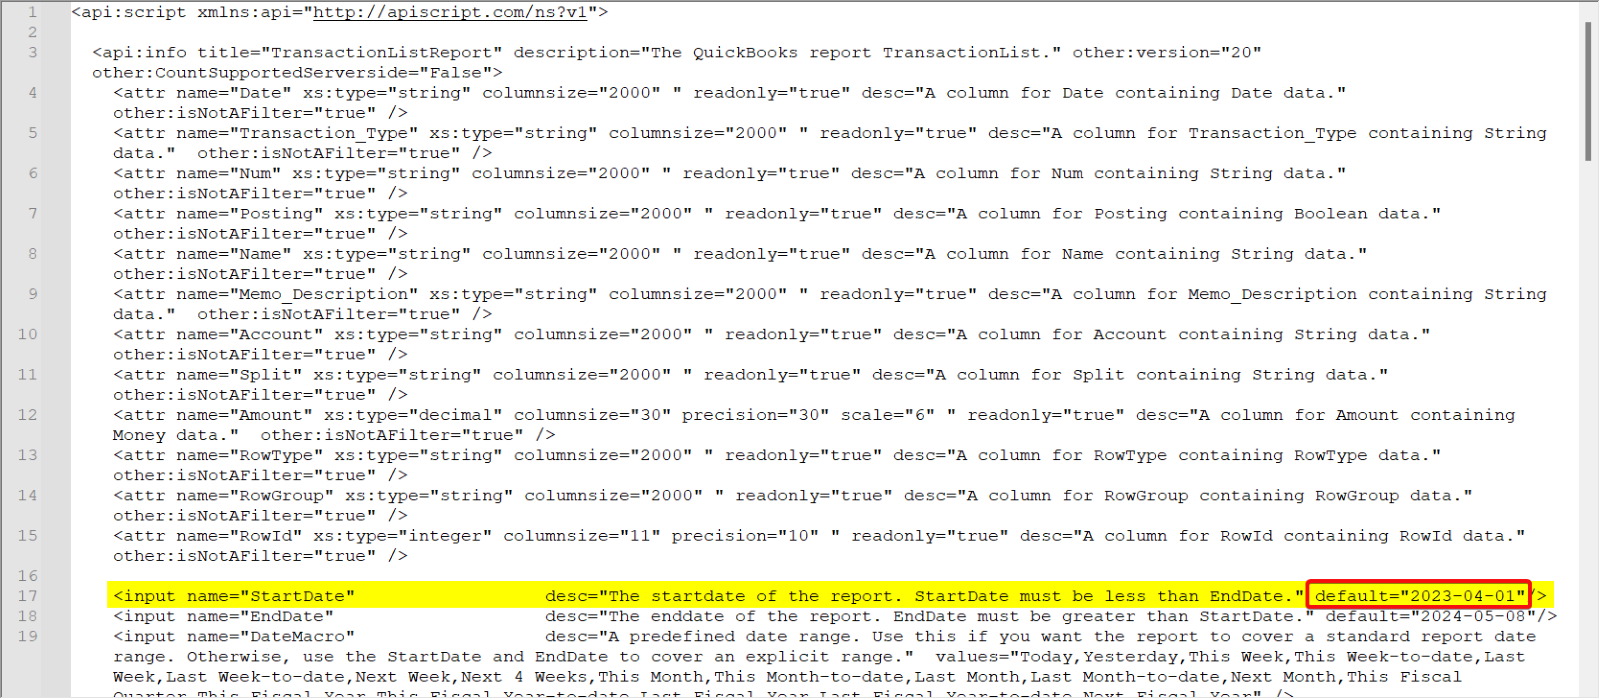
However, after creating this schema file, I realized I wanted transactions starting from 06/01/2023 instead. To change this, I will go ahead and open the schema file in my preferred text editor (Notepad++ in this case).
From here, I will locate the input parameter I’m looking to change, StartDate in this case, then make the changes needed.

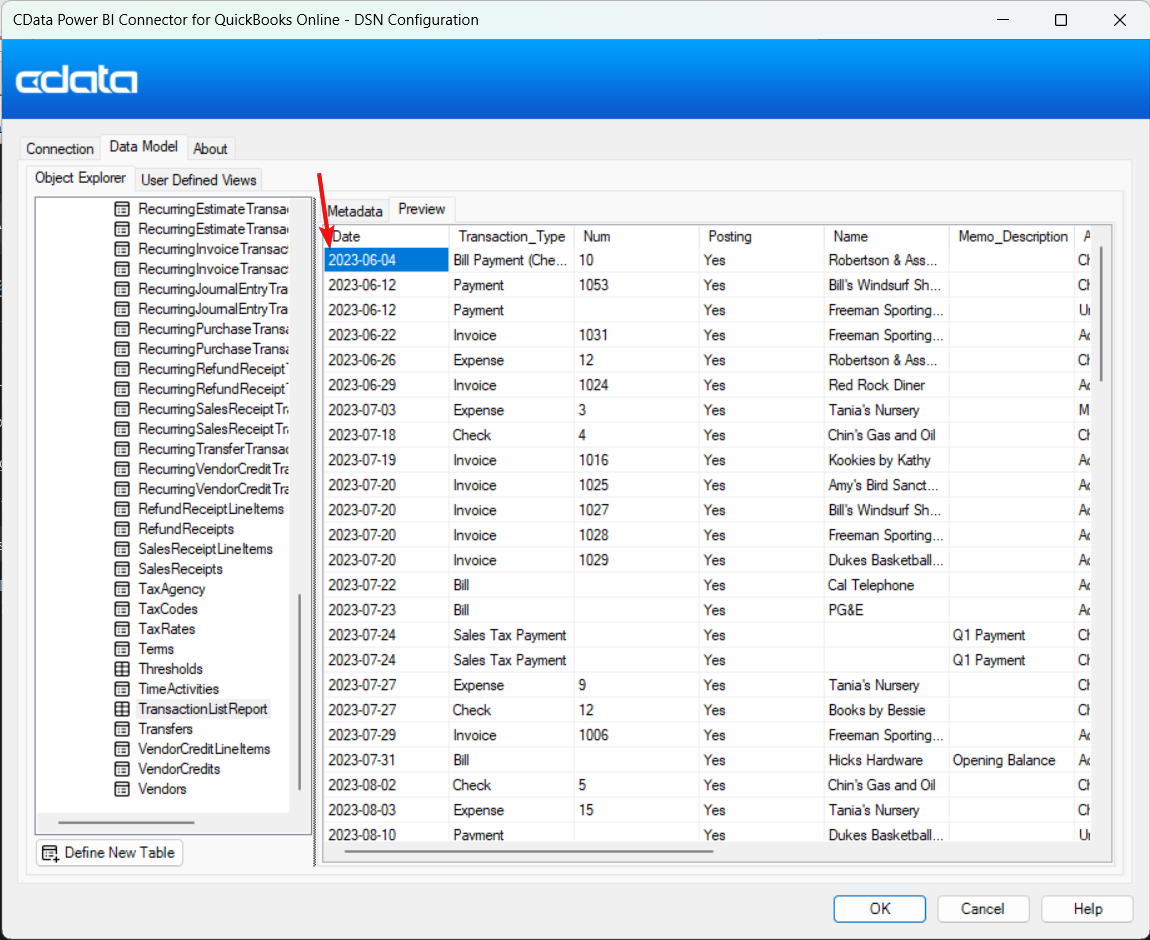
After changing the StartDate to “2023-06-01” and saving my changes, I can reopen the DSN Configuration and head back to the corresponding table to review the changes.

Now I have successfully edited my schema file to reflect my desired input.
If you’re running into any issues here or have further questions, you can reach out to us directly at [email protected].

