When using SharePoint Online you can define applications in Azure AD and these applications can be granted permissions to SharePoint, but also to all the other services in Office 365 (note: this will not work for SharePoint On-Premise.)
1- Create an empty text file on your computer.
2- Copy the PowerShell script from the Granting access via Azure AD App-Only page and paste it into the empty text file created.
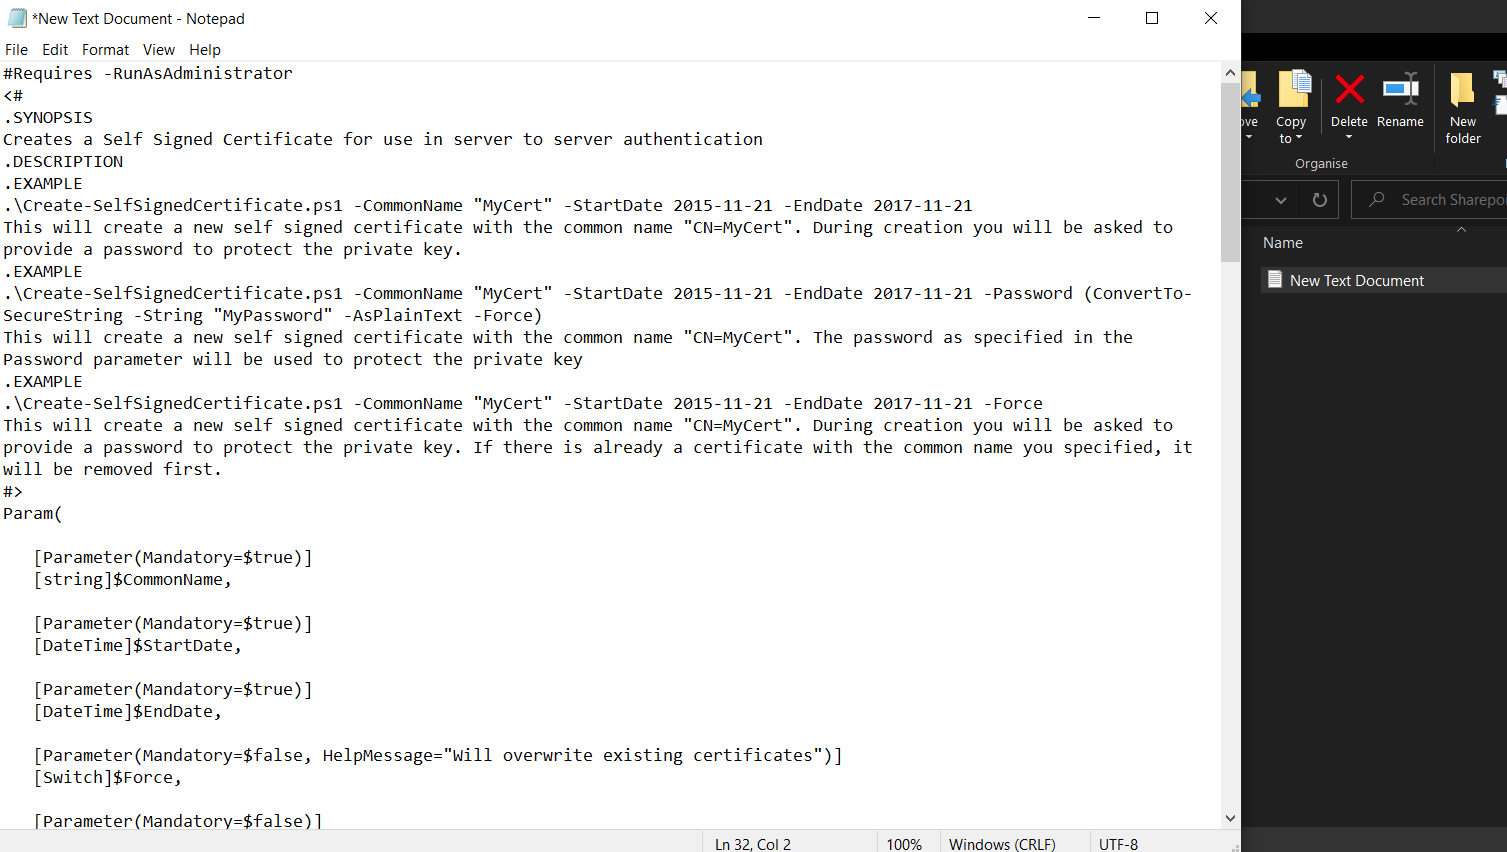
3- Rename the text file Create-SelfSignedCertificate and save it as a ps1 file (Create-SelfSignedCertificate.ps1).
4- Open Windows PowerShell as Administrator inside the folder where this file is saved.
5- Copy the PowerShell command from the above-mentioned page:
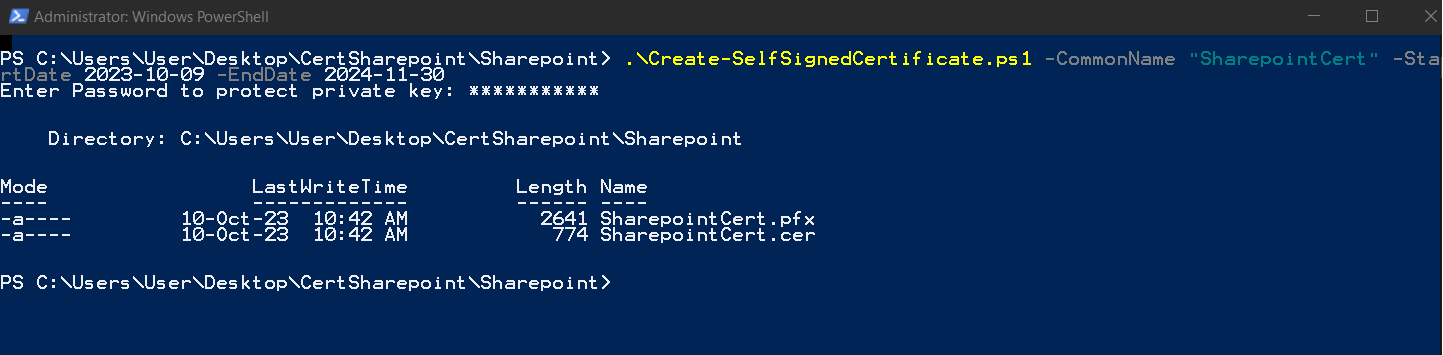
.\Create-SelfSignedCertificate.ps1 -CommonName "SharepointCert" -StartDate 2023-10-09 -EndDate 2024-11-30
-
The CommonName value is the name of the certificate we are creating.
-
Change the StartDate to the current date and the EndDate to a date of your choice.
6- Paste and run the modified command to Windows PowerShell.

7- Enter the password will prompt to protect the Private Key so set a password as you want to protect this Private key.

2 files will be created: SharepointCert.pfx (private key) and SharepointCert.cer (public key).
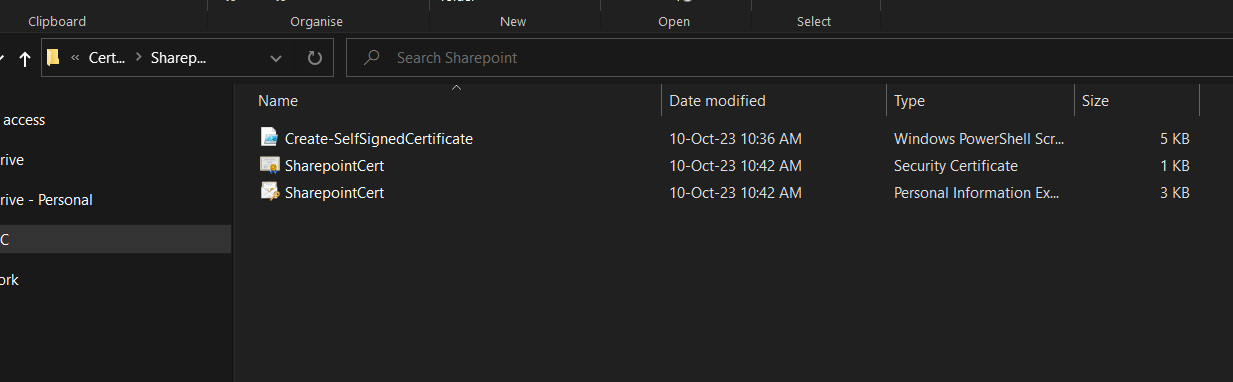
Keep the private key safe. The public key is the one you need to upload to your Azure Application.