Sometimes clients face permission errors while trying to authenticate using 'Azure AD' or 'Azure Service Principal' AuthScheme with our CosmosDB driver. One of them is the RBAC (role-based access control) error permission:
java.sql.SQLException: [Forbidden] Request blocked by ........: Request for Read DatabaseAccount is blocked because principal [******] does not have required RBAC permissions to perform action [Microsoft.DocumentDB/databaseAccounts/readMetadata] on any scope. Learn more: https://aka.ms/cosmos-native-rbac.
This kind of error is typically thrown due to some role missing. The main issue here is that this role isn't available to be configured from the UI just like we can configure other roles. The only way to add it, based on the API Documentation is by creating a custom role with the following RBAC permission (Microsoft.DocumentDB/databaseAccounts/readMetadata) from Cloud Shell which then will be assigned to an identity so that our applications can access resources in Azure Cosmos DB.
Follow the steps below to create a custom role with the necessary RBAC permission.
1- You have to create a JSON file on your computer and inside the file save one of the following roles: ReadOnlyRole or ReadWriteRole
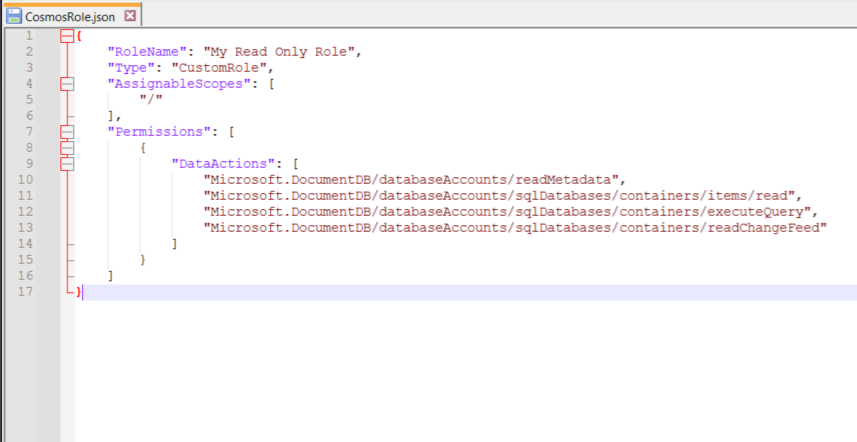
In my example, I tried to create a ReadOnlyRole.
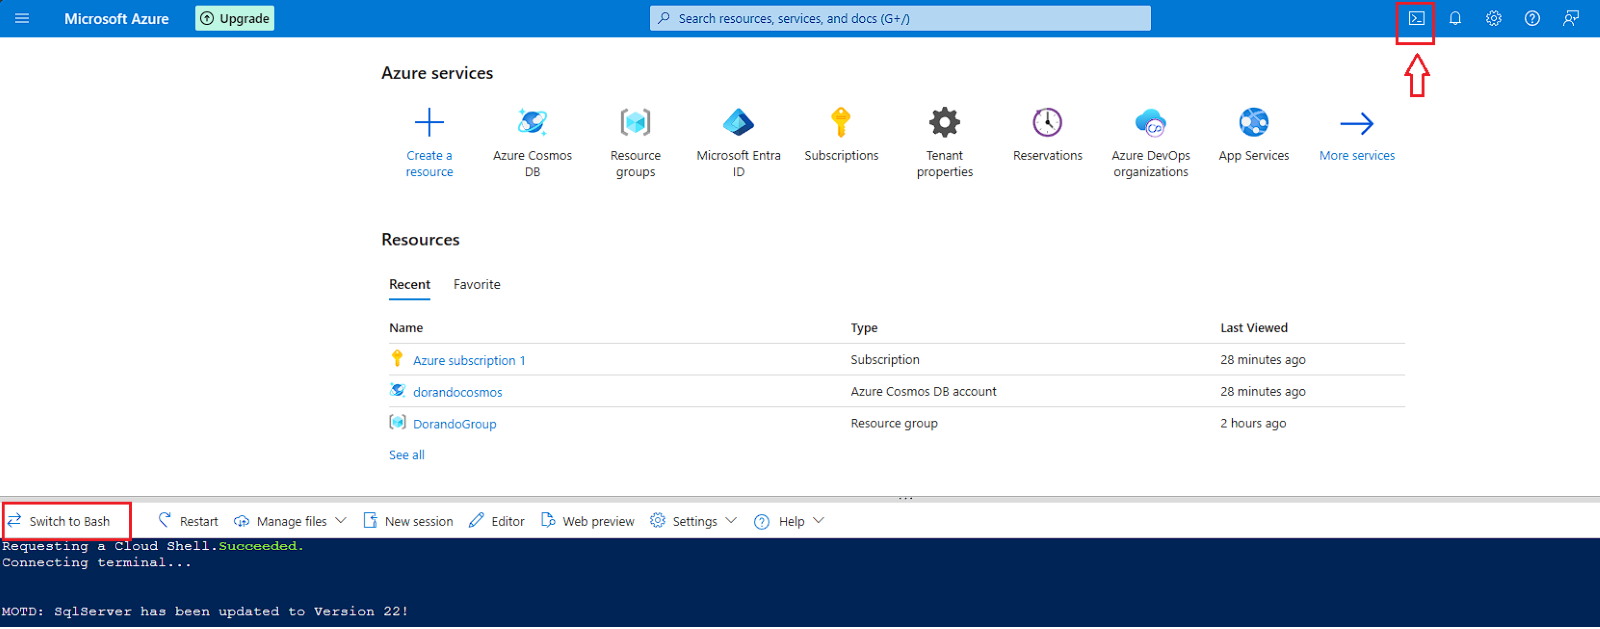
2- After creating the file, log in to https://portal.azure.com and open Cloud Shell (I would recommend switching it to Bash)
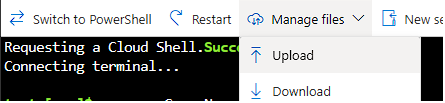
3- Upload the JSON file that you created from your computer.
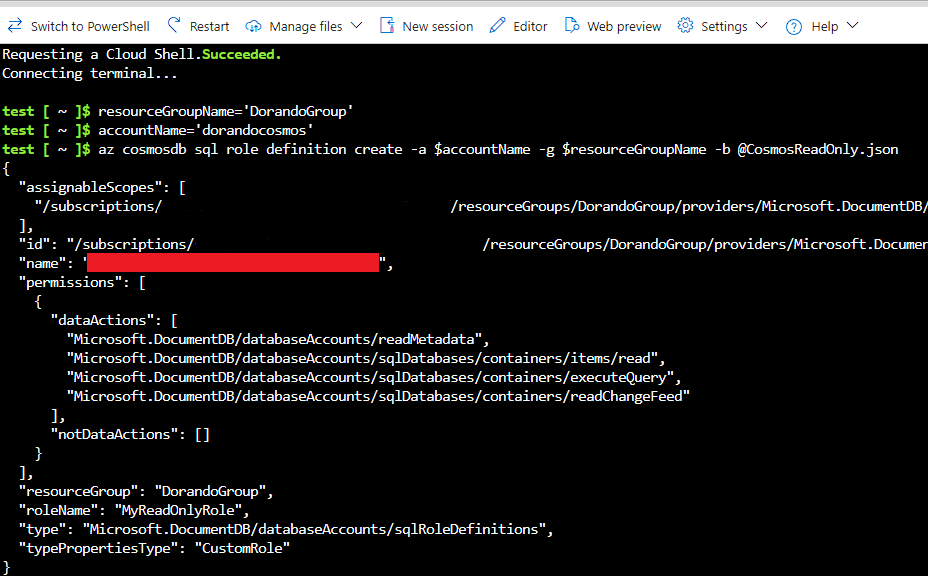
4- Next, you must run the following commands one by one to create this role.
-
resourceGroupName='<myResourceGroup>' *
-
accountName='<myCosmosAccount>' **
-
az cosmosdb sql role definition create --account-name $accountName --resource-group $resourceGroupName --body @role-definition-ro.json ***
* - Set it to the Resource group name that you want this role to be created on.
** - Set it to the Azure Cosmos DB account you want to work with.
*** - Set the name of the JSON file that you created and uploaded.

5- After everything is executed successfully, the following data will be displayed where you have to copy the name value since it will be needed in the next step.
6- Next, execute the following commands one by one.
-
readOnlyRoleDefinitionId='<roleDefinitionId (the value that you copied above)>' #If you are creating read-only role use readWriteRoleDefinitionId
-
principalId='<PrincipalId>' Note: In most cases, this is the PrincipalId displayed in the error message.
-
az cosmosdb sql role assignment create -a $accountName -g $resourceGroupName -s "/" -p $principalId -d $readOnlyRoleDefinitionId #If you are creating a read-only role run the following command az cosmosdb sql role assignment create -a $accountName -g $resourceGroupName -s "/" -p $principalId -d $readwriteRoleDefinitionId

Next in our CosmosDB driver you just have to set the necessary connection properties that are related to the AzureAD or AzureServicePrincipal AuthScheme (Depending on which you want to work with).