Qlik Sense Desktop gives users the opportunity to use ODBC drivers as data sources. This guide outlines the steps for creating an application in Qlik Sense Desktop, using the CData ODBC drivers. Initially, you must establish a successful connection with your data source, illustrated here with the CData Workday ODBC Driver as an example.
Once the connection to Workday is successfully established while following the online documentation, we are ready to set up Qlik Sense Desktop.
-
Launch Qlik Sense Desktop.
-
Within the Qlik Sense Desktop Hub, select "Create New App."

-
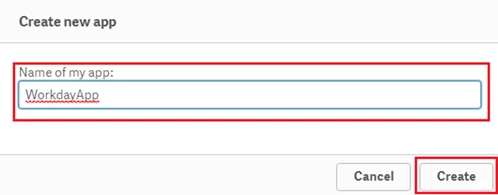
Provide a name for your new app, and then click "Create."
-
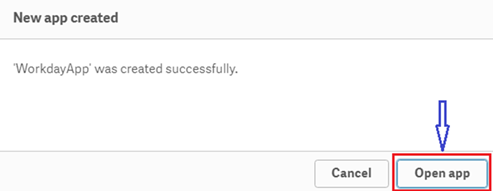
A confirmation window will appear, indicating the successful creation of the app. Click the "Open App" button.
-
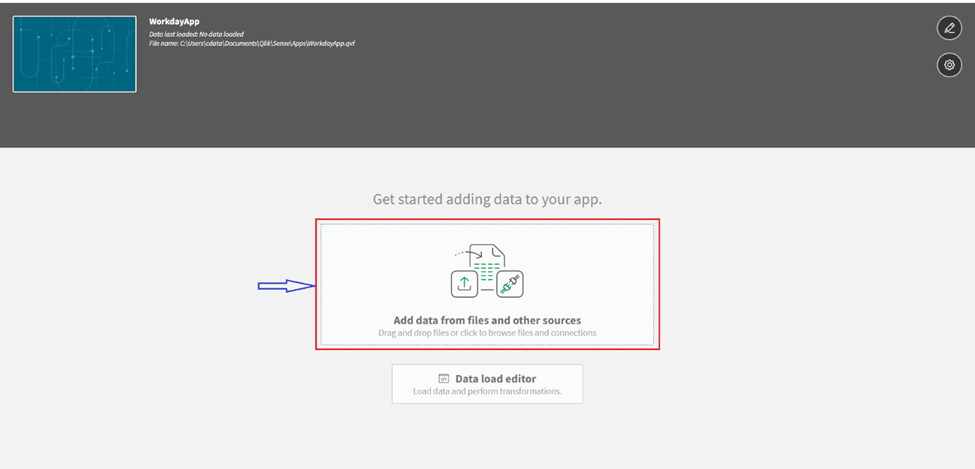
In the new window, choose "Add data from files and other sources".
-
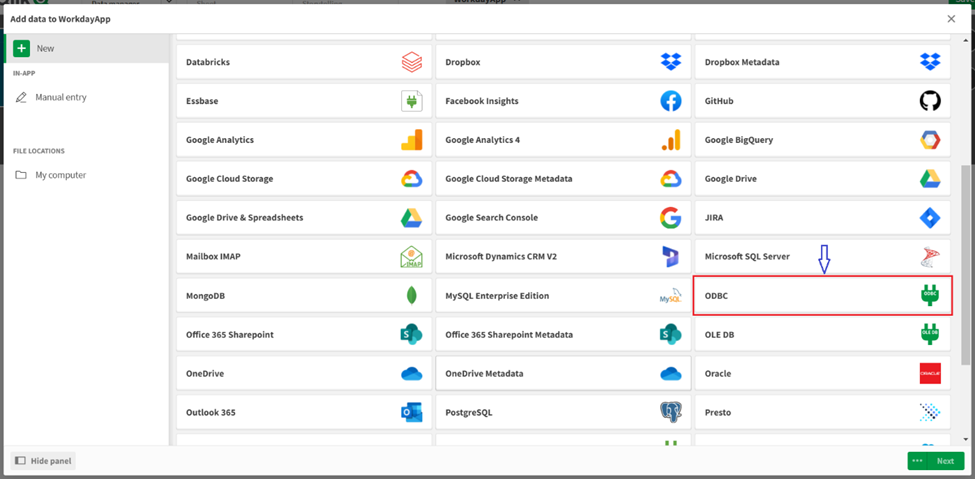
From the following window, navigate to the "ODBC" option and select it.
-
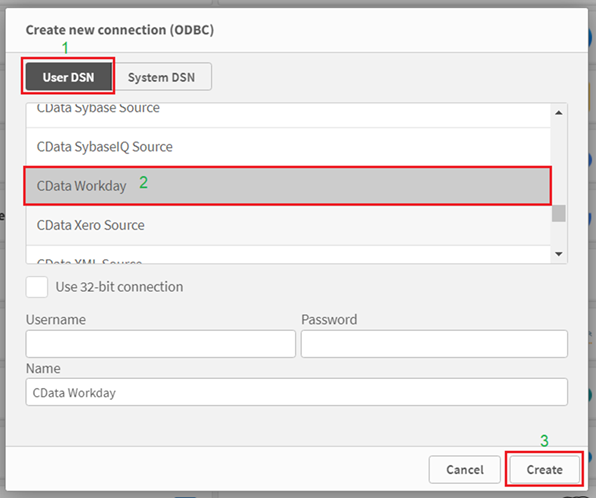
After selecting ODBC, create the connection by opting for either User DSN or System DSN (considering what you have already configured).
Navigate to the previously configured DSN and select it. In this example, we had previously configured a User DSN named CData Workday. Finally, click "Create".
-
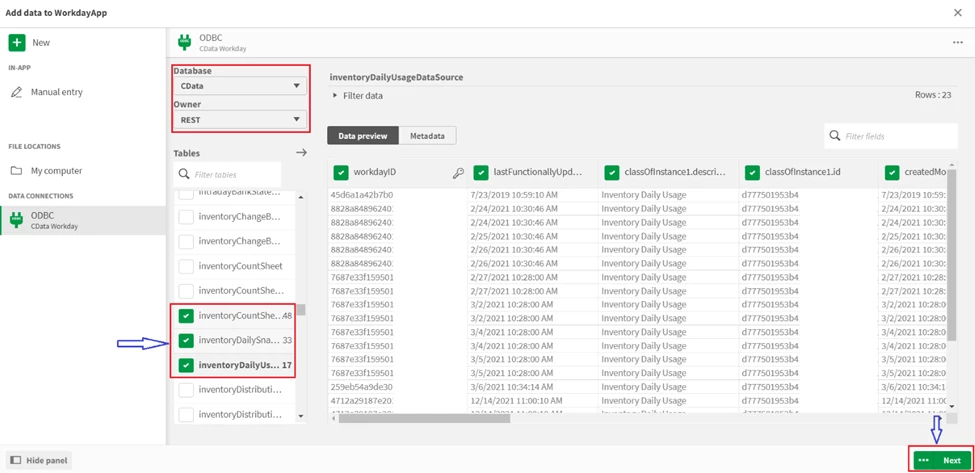
Once the connection is created, specify the "Database," pointing to the Catalog, and the "Owner," referring to the schema of the desired tables. In this instance, we have selected "CData" and "REST" and have chosen three different tables.
-
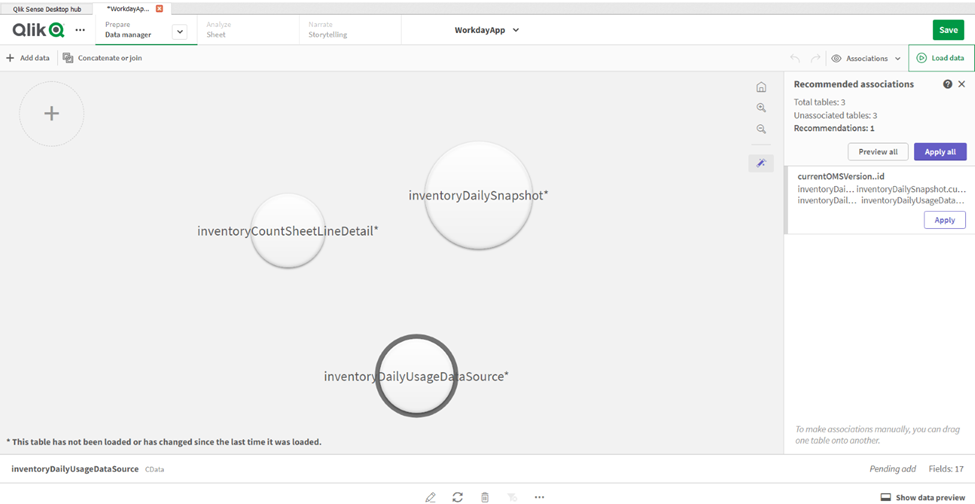
After clicking "Next," you can add the data to your app and start working with it.
Please reach out to [email protected] if you have any questions or face any issues.


