The 2023 release of CData Sync includes several updates to continue to improve the enterprise experience for Sync users and administrators. In this post, we’ll highlight and provide details on the latest feature updates.
User management and roles
CData Sync supports three types of users (roles):
Administrator role
The Administrator (Admin) role provides full control over the application. The first user created in Sync defaults to this role.
Admin users can create new jobs and connections, change application settings, and perform every other operation supported by the console. In addition, only admins can view the Audit log, which records changes that are made within the application (by any user).
Standard role
The Standard role allows for the creation, editing, and deletion of jobs and connections, but it does not allow for changing application-wide settings like those that appear on the Settings tab.
Job creator role
The Job creator role allows users to create, edit, and delete jobs and transformations, but it does not allow access to connections and does not allow for changing application-wide settings.
Job operator role
The Job operator role is a read-only role that enables user to start and stop jobs, view job history, and download job logs. These users cannot create new jobs, delete jobs, or change application settings.
User roles comparison
| Operation | Admin | Standard | Job Creator | Job Operator |
|---|---|---|---|---|
| View connections, jobs, and transformations | Yes | Yes | Yes | Yes |
| View application and job-execution logs | Yes | Yes | Yes | Yes |
| Execute jobs and transformations | Yes | Yes | Yes | Yes |
| Manage jobs and transformations | Yes | Yes | Yes | |
| Manage connections | Yes | Yes | ||
| Install new connectors | Yes | Yes | ||
| Manage users | Yes | |||
| Change application settings | Yes | |||
| View audit logs | Yes |
User creation and management
To create and manage further users, navigate to Settings > Users. The Users tab includes a table of users that are defined and includes information about the users’ roles, Sync API access tokens, and more.
Only Admin users have permission to manage other users. Admin users can create, delete, and modify users.
Labels
Labels can be used to help CData Sync users organize their Connections, Jobs, and Transformations.
Applying a label
- Highlight the connection, job, or transformation
- Click the ellipsis (...) and click Add Labels
- Create a new label and choose an existing one
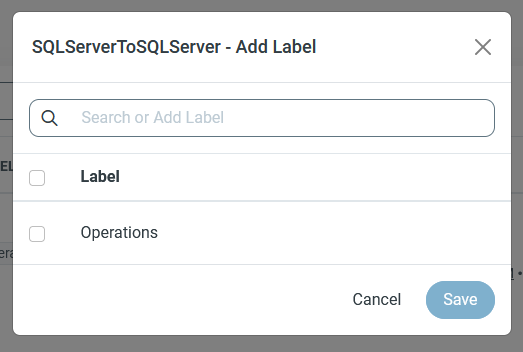
With a label added, users can apply filters to their interface based on the labels along with types, statuses, sources, and destinations.
Saved filters
Users can now filter their Connections, Jobs, and Transformations. Saved filters allow users to easily manipulate their view into CData Sync, organizing the interface based on job or transformation type, job or transformation status, data source or destination, and label.
Saving a filter
- Click the Filter icon on the appropriate page and select the filters
- Click Saved Filters and click Add Saved Filter
- Name the filter and click Add Saved Filter

With a filter saved, users can change the way they navigate through CData Sync and focus on specific tasks and connections.
Cloned connections and jobs
Cloned connections and jobs allow CData Sync users to take advantage of previously performed configurations, quickly setting up connections to related sources and destinations and replication jobs with minor modifications.
Cloning a connection
- Locate the connection to be cloned and select Clone from the options menu (...). This option opens the Clone Connection dialog box, where users can define what they want to clone.
- Enter a name for the new connection and click Clone Connection.
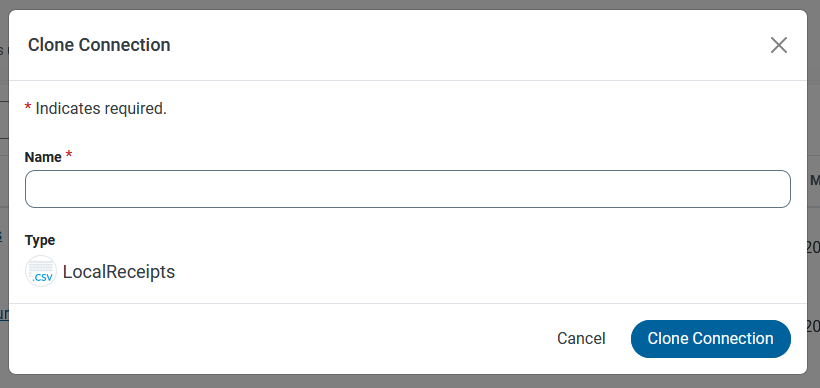
Once completed, the cloned connection is displayed in the connection table on the Connections page. Edit the connection to modify it as needed for the new source/destination.
Cloning a job
-
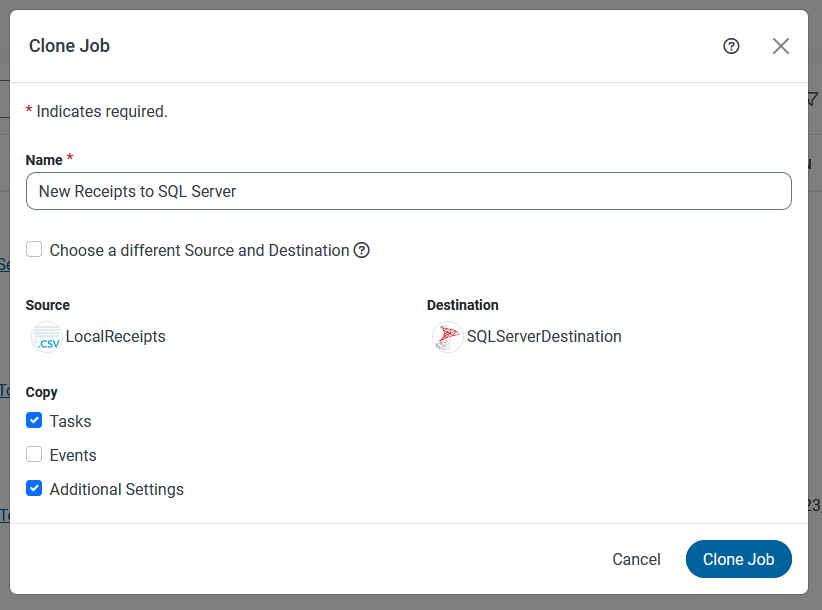
Locate the job that to be cloned and select Clone from the options menu (...). This option opens the Clone Job dialog box, where users can define what they want to clone.
-
Enter a name for your new job.
-
(Optional) Select the Choose a different Source and Destination option if you want to change the current source and destination.
-
Select any of the following optional settings that you want to use.
Tasks - Copies all Tasks from the original job. Note: If you use a different source connection, you must verify that all the tables you add as tasks exist in your source before you run the job.
Events - Copies all Events from the original job.
Additional Settings - Copies notification, schedule, logging, and advanced settings from the original job.
-
-
Click Clone Job.
Once completed, the cloned job is displayed in the job table on the Jobs page. Edit the job to modify it as needed.
Free trial & more information
Visit our CData Sync page to read more information about CData Sync. To try out the enterprise features, download a free 30-day trial! As always, our world-class Support Team is ready to answer any questions you may have.