When you query a table or view using any of our Workday connectors, you might see an error like the below or anything similar which mentions denied permissions:

In this case, the user needs to give permissions to the corresponding scope and domain for the table that’s giving the error. In this article, we will use the JobFamilies table from the REST schema as an example.
To figure out the corresponding scope and domain for the table, we can go to the Workday REST API documentation below and search for the specific endpoint corresponding to the table.
https://community.workday.com/sites/default/files/file-hosting/restapi/
In this example, the /jobFamilies endpoint corresponds to the JobFamilies table. Once you open it in the documentation, you should be able to see the scope the endpoint belongs to and the domain that it’s secured by. In this case, JobFamilies belongs to the Jobs & Positions scope and is secured by the Job Information domain.

Knowing this information, the user’s group must be added to the policy for the corresponding scope and domain to enable the permissions.
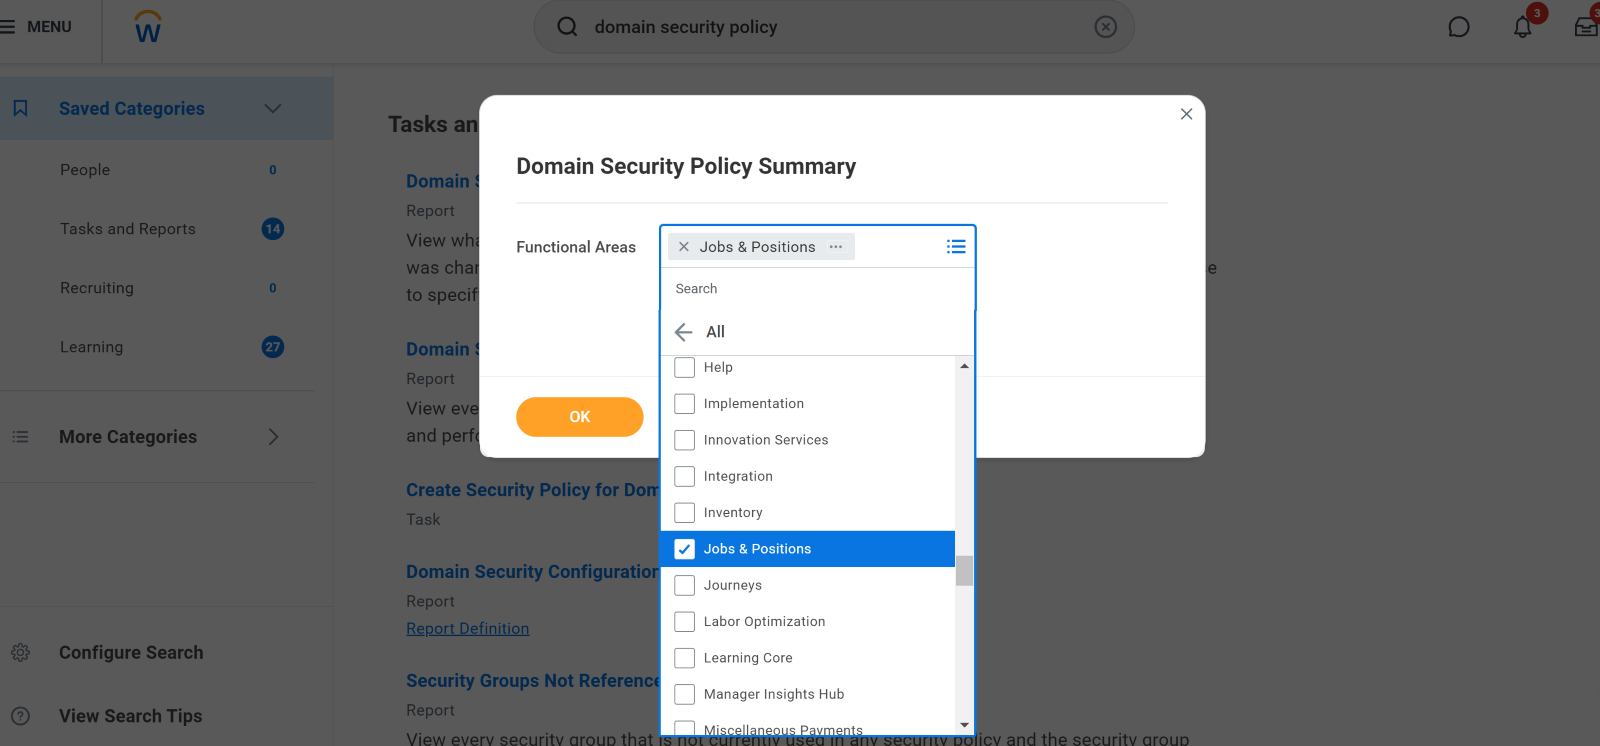
To do that, search for “Domain Security Policy Summary” in the UI search bar:

Then, please select the corresponding Scope/Functional Area for the endpoint. In this, case, the Scope/Functional Area is Jobs & Positions:

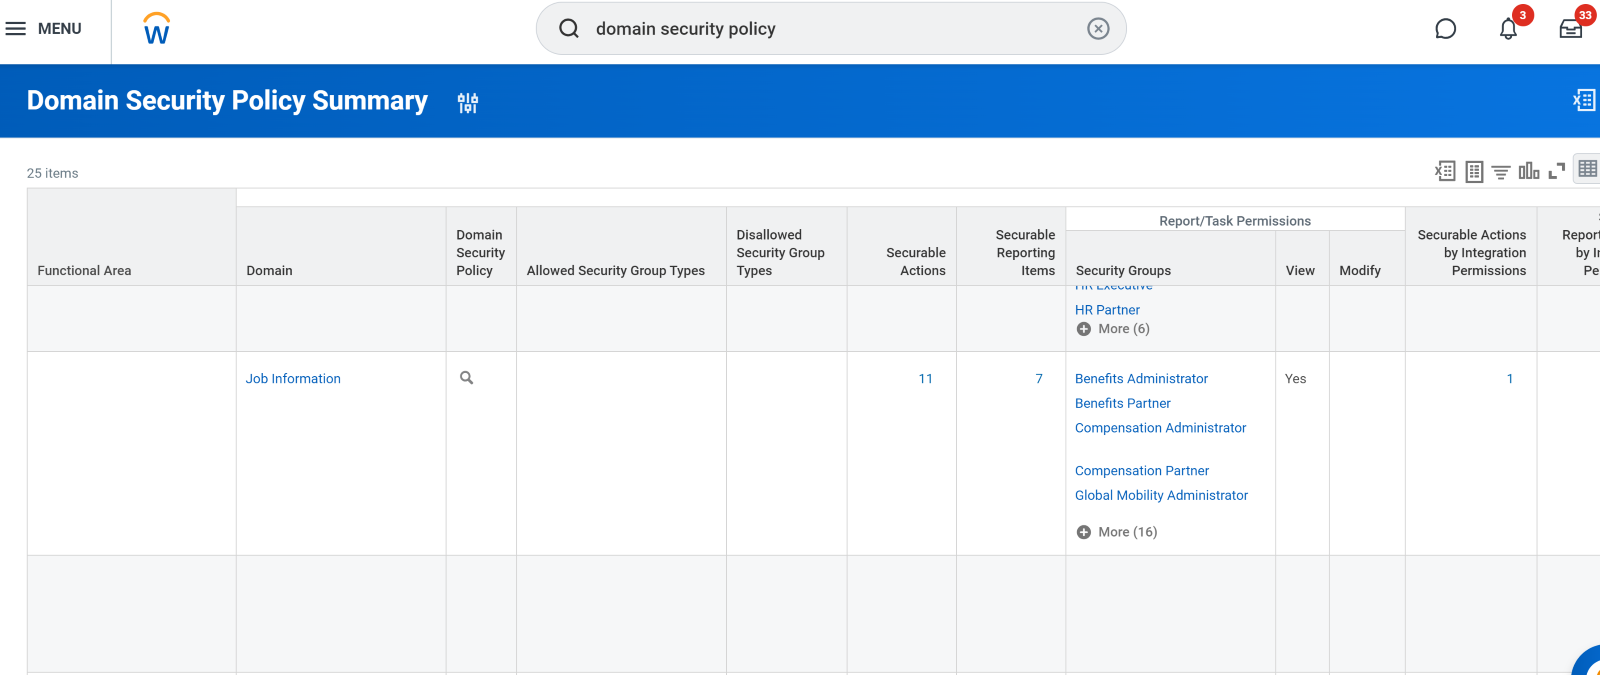
Then, you should be able to see a table containing all the scope’s domains and their respective security policies and groups.

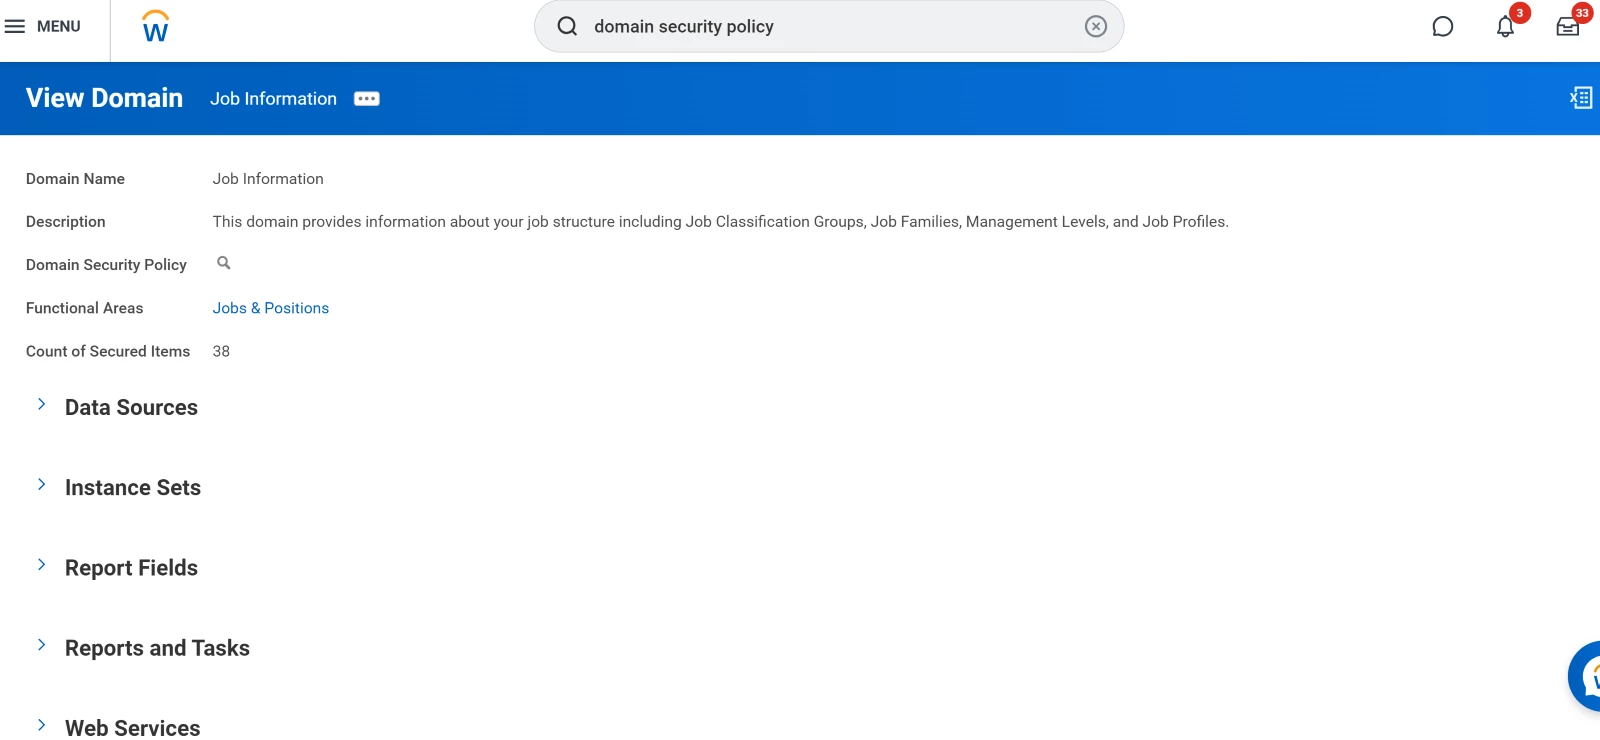
After double-clicking the domain, a page like the one below should open up:

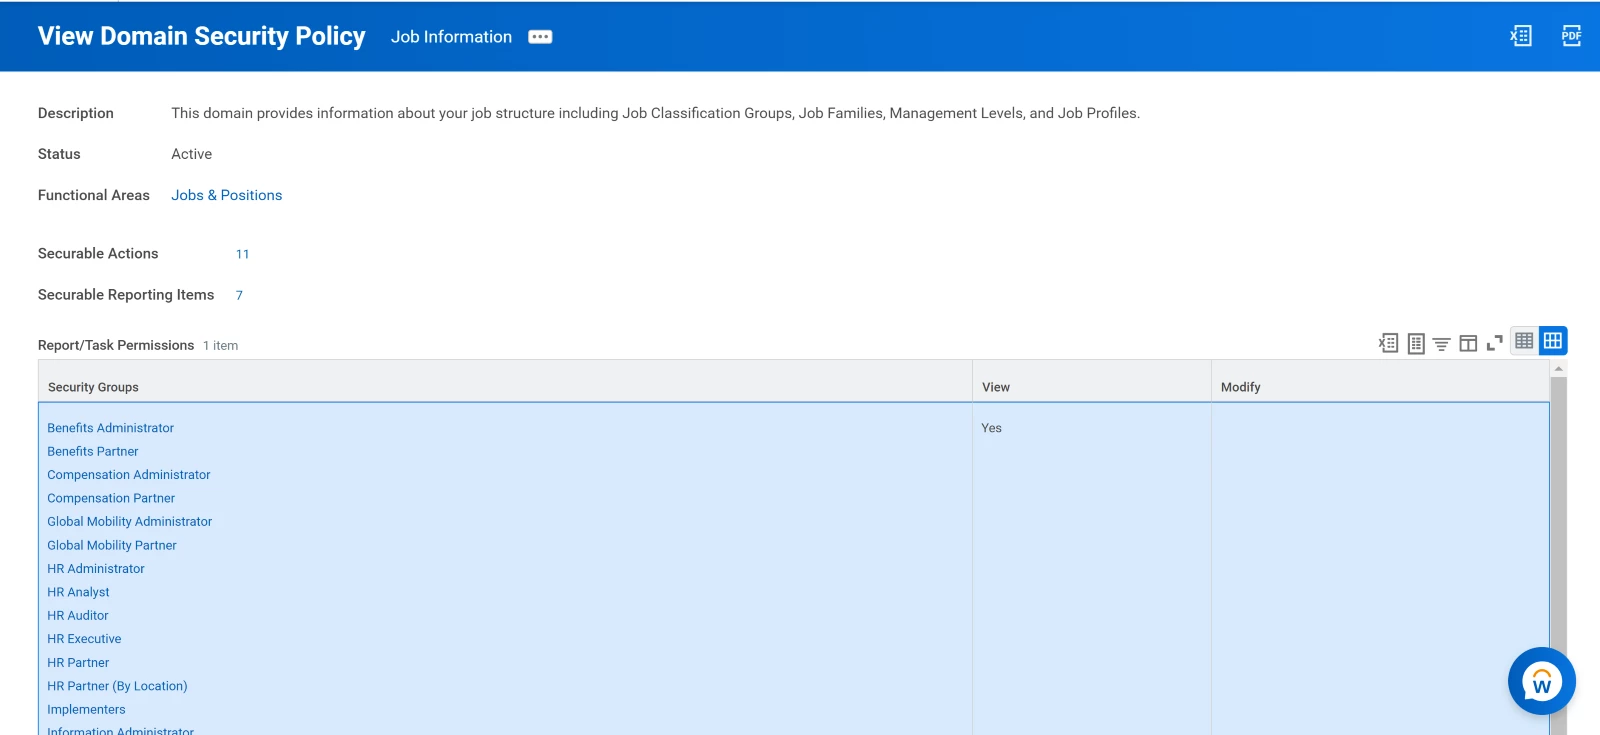
Once there, please double-click on the small magnifying glass icon right by Domain Security Policy. The page below should open:

You should be able to see the groups that have access to the corresponding domain. Therefore, you must make sure that the group your Workday user belongs to is part of one of the groups listed there.
You can add the user’s group by scrolling all the way down and clicking on Edit Permissions:

Then, you should be able to edit the listed security groups and add your user’s group to the list.


