Our ODBC Drivers, as shown in our documentation, are usually used in other programming languages such as C/C++, Node.JS, PHP, Python, R, Go. In this article, I will provide a detailed, step-by-step explanation of how to connect your C# ADO.NET application to an ODBC connector, specifically using the CData ODBC Driver for Salesforce.
Unlike ADO.NET connectors, where you can add a reference to the System.Data.CData.Salesforce.dll, in ODBC you can’t add a reference to the CData.ODBC.Salesforce.dll found in default path “C:\Program Files\CData\CData ODBC Driver for Salesforce\lib64”. Fortunately, there is a means of connecting C# applications to our ODBC connectors, and that is by utilizing Microsoft's System.Data.Odbc package.
The following steps will create an application that show the basic operations used to interface ODBC and .NET:
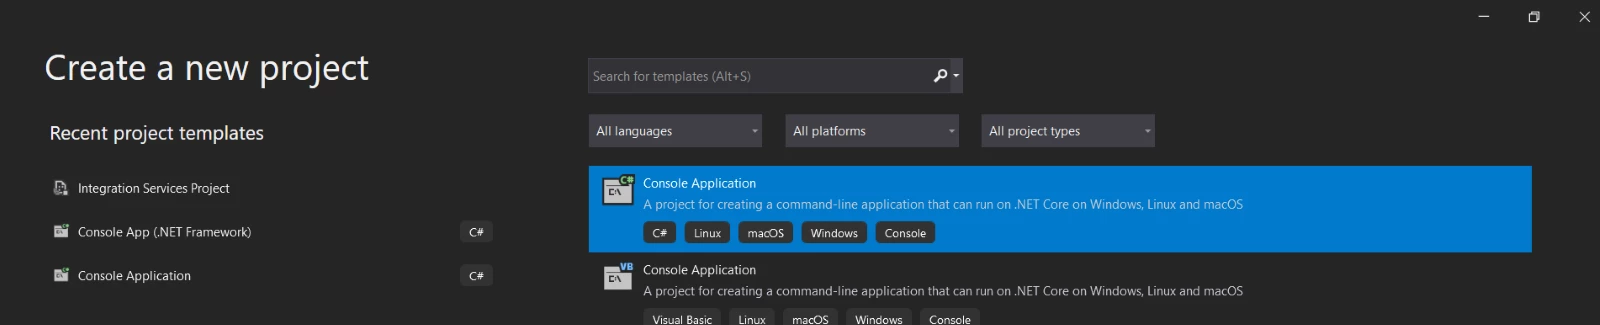
1. Create a new Visual Studio Project. For this example, we will use a C# Console Application:
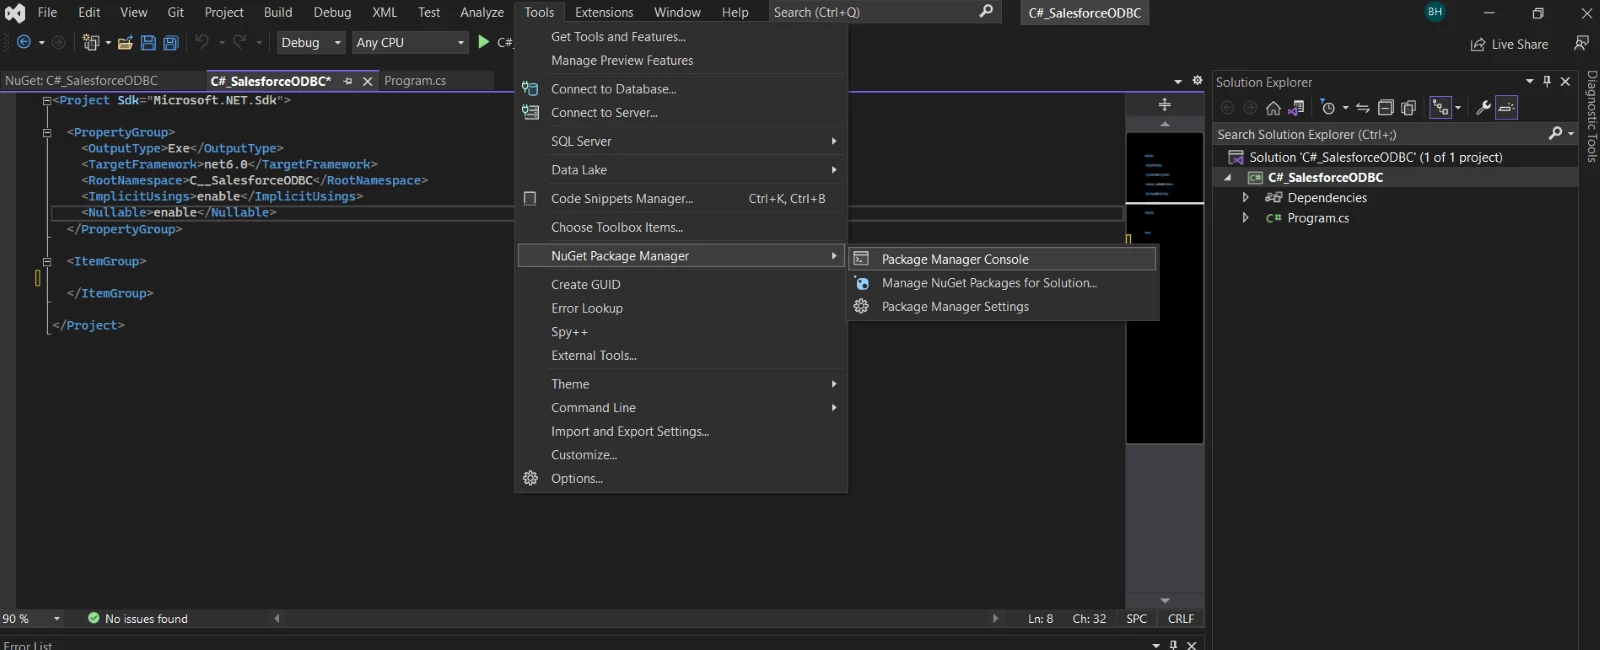
2. Install the System.Data.Odbc package. You can do so by using the “NuGet Package Manager” console. Please note that you can also download the System.Data.Odbc.dll file from an online source and then add it as a project reference. However, I would suggest installing the package from the “Package Manager Console” instead, as it offers a simpler and faster approach.
To install the package, click Tools >> NuGet Package Manager >> Package Manager Console:
3. Type Install-Package System.Data.Odbc in Package Manager Console and press Enter:

4. After the installation is successful, the Project class should look like this:

Now that we have added the System.Data.Odbc package, we are able to connect to our ODBC driver.
5. Import the System.Data.Odbc namespace into the application, to allow us to use the ODBC .NET Data Provider:
using System.Data.Odbc;
6. Create an OdbcConnection object and connect it to our sample data source:
string connectionString = "Driver={CData ODBC Driver for Salesforce};" +
"User=xxxxx;" +
"Password=xxxxx;" +
"SecurityToken=xxxxxxxxxxxx;";
using (OdbcConnection connection = new OdbcConnection(connectionString)) {}
This example makes use of a DSN free connection by using the DRIVER={} format, but a DSN connection can be used instead:
string connectionString = "DSN=CData Salesforce Source;";
or
string connectionString = "DSN=CData Salesforce Sys;";
By following this approach, there is no need to manually include the connection properties you have configured in your ODBC Admin within the connection string. Instead, you can simply set the DSN, and the properties will be retrieved from there. For more information on configuring the connection, refer to the documentation provided by our ODBC driver.
7. Next, we will proceed to open the OdbcConnection object and create an OdbcCommand using it. With this command, we can execute a query and generate an OdbcDataReader. Consequently, we can iterate through each row in the result set and display the values of the specified columns. The complete C# ADO.NET application that connects to our Salesforce ODBC driver would be:
using System.Data.Odbc;
string connectionString = "Driver={CData ODBC Driver for Salesforce};" +
"User=xxxxx;" +
"Password=xxxxx;" +
"SecurityToken=xxxxxxxxxxxx;";
using (OdbcConnection connection = new OdbcConnection(connectionString))
{
connection.Open();
string sql = "SELECT Id, Name FROM Account";
using (OdbcCommand command = new OdbcCommand(sql, connection))
{
using (OdbcDataReader reader = command.ExecuteReader())
{
while (reader.Read())
{
Console.WriteLine($"Id: {reader["Id"]}, Name: {reader["Name"]}");
}
}
}
}
Please reach out to [email protected] if you run into any issues.